DIY Stepping Stone Supplies
- 5 gallon bucket (or wheelbarrow)
- Shovel (or something to stir concrete)
- Quick dry concrete
- Chicken wire
- Wire cutters
- Trowel
- Tin foil pie pans
- Embellishments (Rocks, shells, marbles)
- Tarp (to contain the mess)
- Non stick cooking spray
- Small hand shovel
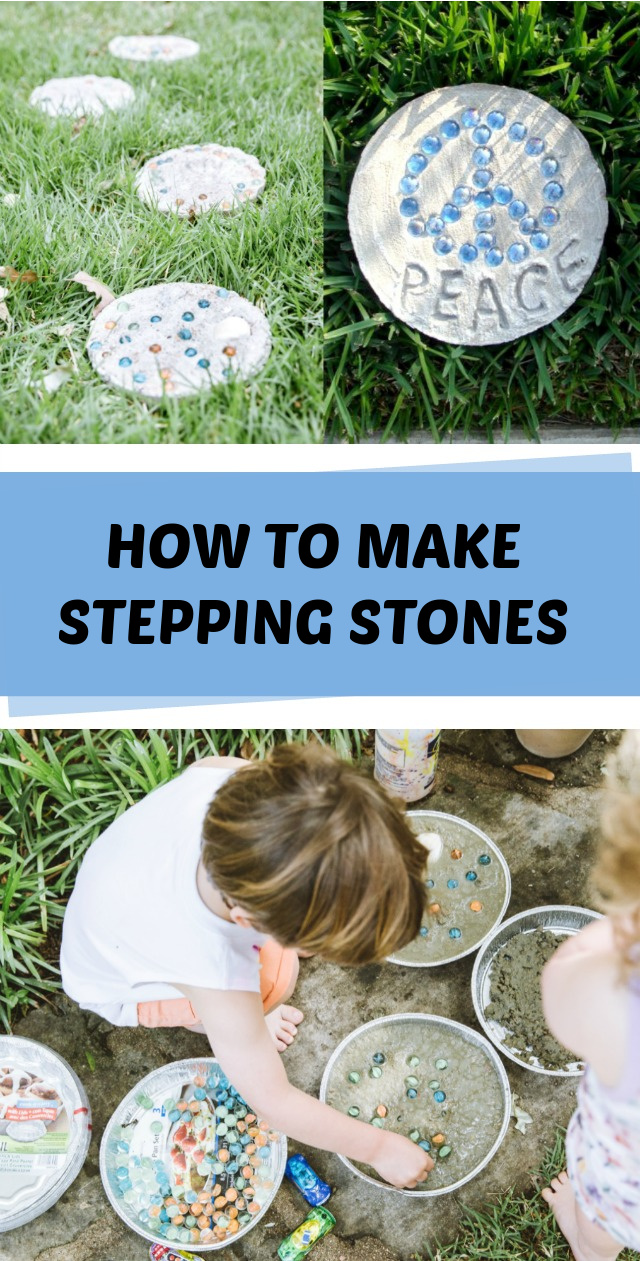
How to Make Stepping Stones
Concrete stepping stones make the perfect DIY gift for parents and grand parents. They are sentimental and useful which is the perfect combination for a kid craft!
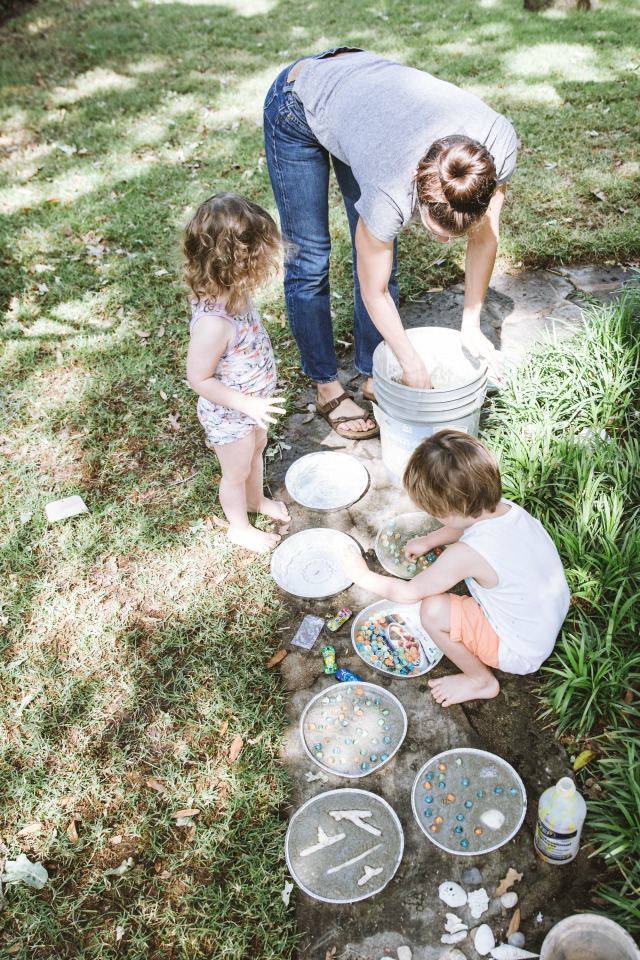
Step 1 – Prep the area
This is absolutely an outside project, and I recommend setting up near a water hose. I did not use a tarp, but if you want easy clean up, consider laying down a tarp. Also, make sure you have all of your supplies and embellishments within an arms reach. Talk to the kids about their designs and let them pick out exactly what they want to use.
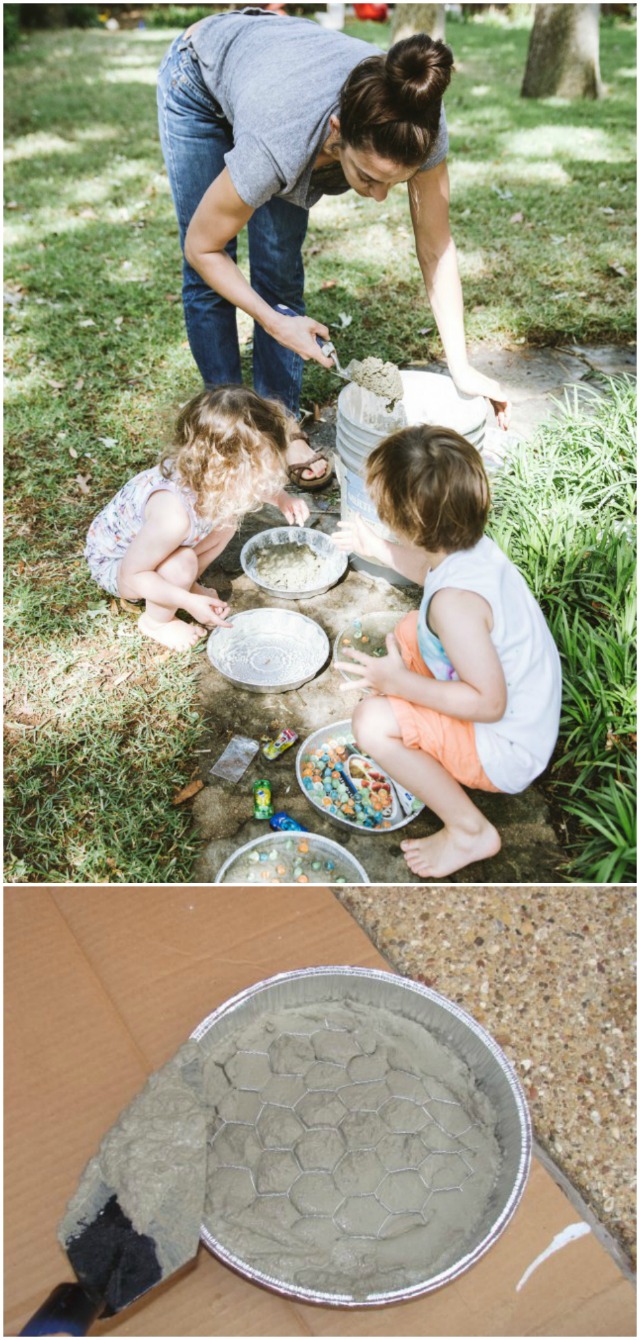
Step 2 – Cut the chicken wire
Use the wire cutters to cut the chicken wire into small enough shapes that will fit inside of the pie tin. You want to have the chicken wire ready to use when it’s time to pour the concrete into the molds.
Step 3 – Mix the concrete
I used a 5 gallon bucket, but if I did it again I would likely use a wheelbarrow to mix the concrete in. Mixing the concrete in the 5 gallon bucket was doable, but tricky. The more surface area you have to mix in, the easier it is to mix the concrete powder and water. The concrete should resemble thick cake batter. It is also fair to note that we mixed up about 1/2 of the bag and half of the bag made 8 stepping stones.
Step 4 – Spray the pie tins
Use non stick cooking spray to coat the pie tins in before you pour the concrete. This makes getting the DIY stepping stones out easy as pie!
Step 5 – Pour the concrete
Use a small garden shovel to scoop one large scoop of concrete into a pie tin. Then, place a peice of pre cut chicken wire on the concrete and scoop a few more scoops of concrete on top of the chicken wire.
Step 6 – Level the stepping stones
Use the trowel to level the stepping stones. I’m not going to lie, I skipped this step, and they turned out fine, but if you want a more even look I recommend using a trowel on the stop of each stone.
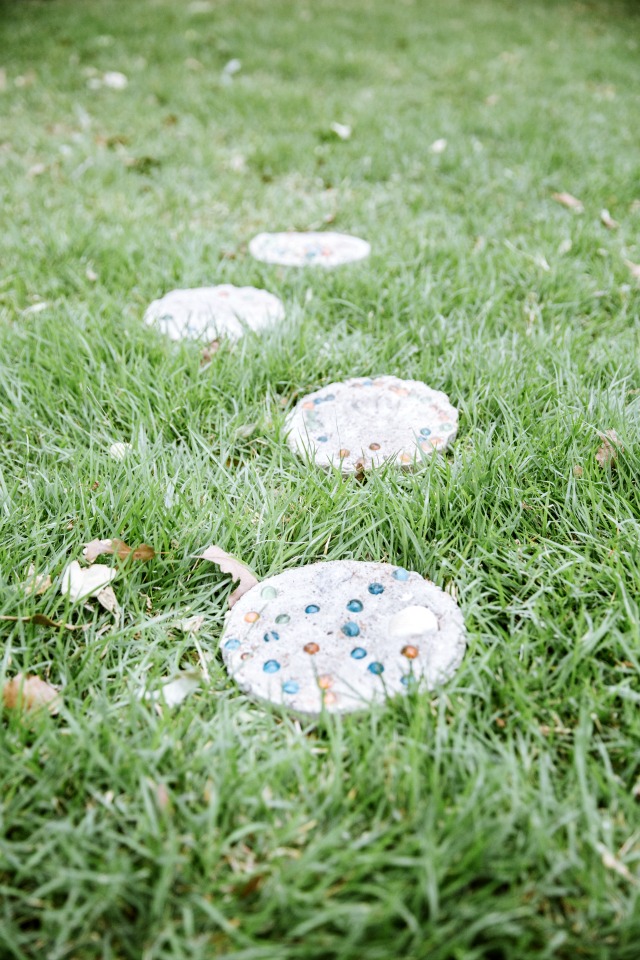
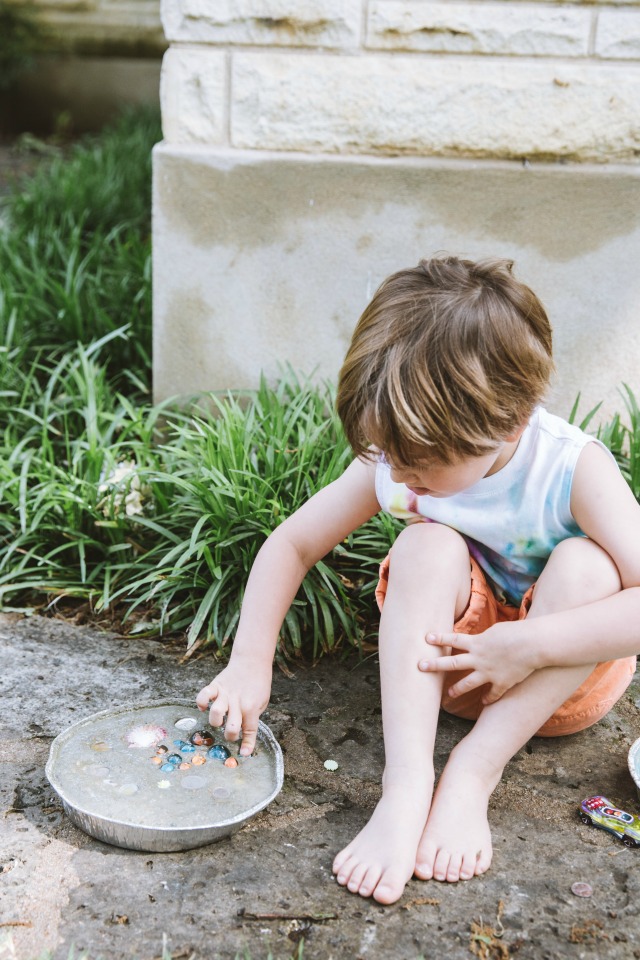
Step 7 – Embellish with stones
- Shells (We used these!)
- Rocks
- Marbles
- Vase filler gems
- Tiles (Next time, I will buy these!)
- Broken pottery
- Small plastic toys
- Dice
- Coins
- Leaf prints
- Concrete letter stamps (These look like fun!)

Step 8 – Wait
Step 9 – Clean up
Clean up is easy as long as the concrete is still wet. I rinsed off of all of the tools and the bucket with the water hose while the kids were decorating the stones. If you let the concrete dry on your tools, it will be much harder to get the concrete off.
Frequently asked questions about DIY stepping stones
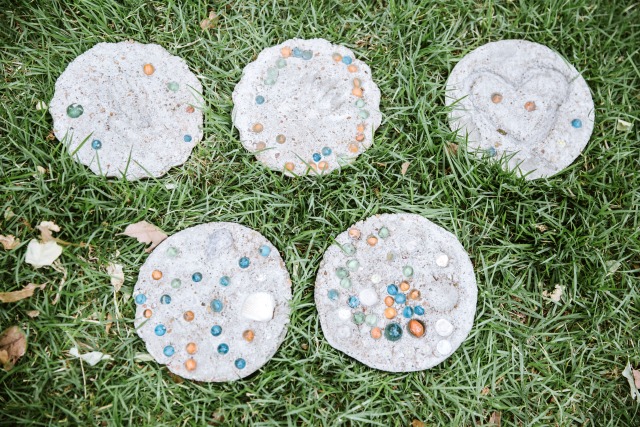
1. Will the marbles pop out?
Maybe! If you don’t set the marbles in the concrete far enough they will pop out. If this happens, just use a little super glue to stick the marble back in its spot after everything is dry.
2. What if I add too much water to the concrete?
If you notice the water pooling around the edge of your stepping stone, pick up the stepping stone and pour as much access water off of the top as possible. You can also gently apply a paper towel to the top of the stone to let it soak up excess water.
3. What if I want bigger stepping stones?
In this tutorial, they line a large pizza box with a garbage bag to make large square stepping stones. I haven’t personally tried it, but seems totally doable!

For more DIY stepping stone pictures, Annie made these stones with an entire preschool class. Here is another tutorial (in Swedish) about making stepping stones with an imprint from a giant leaf! Have you ever made concrete stepping stones with kids? I’d love to hear…
If you like this garden craft, don’t miss:

Comments & Reviews
Previous comment a 80 lb bag will make 2 stepping stones 2 inches thick and 2 foot round poured in a plastic mold
I make all my own stepping stones 2 ft round and 2 inches thick ,I made about 25 or more to go around the pool and in front of my garage , now I’m making more stepping stones going to my front door to cabin very easy
Hello!
I’m planning to use this idea for VBS this year. What size bag of concrete did you use?
I used a 60lb bag of concrete and I think it made about 8 stepping stones. I hope that helps!
Hello! When you said let the cement sit for 30 minutes if you want to make a hand print, is that before you make the hand print?
How many lbs of concrete mix did you use for 8 stepping stones?
hello! I am just curious the purpose of the chicken wire. Is it for structure purposes or for like design purposes? Aka is it necessary to use?
Thanks!
Hi! The chicken wire makes the stepping stones stronger. Not necessary, but the stones break easier without the chicken wire.
So, my girls and I made some of these this morning and I can’t wait to see how they turn out!
I just checked in them and noticed that they have attracted a bunch of ants because of the cooking spray. Glad they are outside in the carport!
Perhaps I’ll use Vaseline next time…
I have used plastic bags from grocery stores. I put the pan inside and pour the cement and when they are dry I just pull the bag up and take it off the stepping stone. Made a bunch of these with our VBS kids one year.
This is totally the coolest most personalized idea ever! I’m going to do this. I never thought to make my own stepping stones and have been frustrated that the ones you buy are so ugly. GIDDY with anticipation!
Thanks for the tips, bought a 12kg bag of remix mortar and marine varnish for the top when dry and have chicken wire over from projects in my garden and broken porcelain. Good idea to get the grandchildren to put their foot or hand print in them.
Love this .Thanks I will be doing a neighborhood kid concrete party for the end of summer. I am inviting the kids to come make their stone and the parents to come and get to know each other. it is all about community and safe places for kids. Blessings GrammaW
You will need help carrying the cement and you need to get mortar mix. I did these projects with the concrete mix they sold me at Lowes’ and it is full of rocks. The kids couldn’t even make a dent with their hands and the stones just sat on top and promptly fell off. Forget even trying to write anyone’s name. I was very disappointed and out money too. My son looked at the pics here and then realized it is mortar mix, make sure you buy the right product.
We had the same problem and we now I don’t have have mother’s day gifts for the grandmas! I’m so bummed!!!
Should these be brought in for the winter, if you get a lot of snow and below freezing temps?
I’m loving this! You always bring such amazing things to our party. Pinned and tweeted. I hope to see you tonight at 7 at our party. I can’t wait! Lou Lou Girls
Such a cute and simple craft for Spring – love it. Thank you for sharing at Share It One More Time. Cathy
What a great idea… especially with spring on the way!! I’d love to do this with the kids 🙂 Thanks for linking up with the #DreamCreateInspire blog hop!
Jamie, these are really fun. The blue peace symbol is my favorite! Lovely and personal way to decorate the garden.
We used to make these all the time when the kids were little! Such a fun project! We still have all of them even though everyone is teenagers now and they are fun to look at in the garden. Thanks for sharing them with us at #FoodieFriDIY!
Amazing idea! Your stepping stones look so lovely 🙂
This is such a good idea! I’m going to try it with my boys.
I am just finding this, and wanted to know how long they hold up. Specifically the marble/glass that is set in. It looks like they would pop out.
Hi! Looks like a great and easy idea. I would like to make these for hubby for Father’s day gifts. Do you think it would “hold” hand/footprint shapes, or do you have to use something sharp to make it stay? Thank you again!
I think you could definitely do hand foot print shapes!
There are several tuitorials that I have pinned on how to make stepping stones from pie tins..but they all looked like the crafter used some nice pie pans..I would have never thought about using a disposable foil one. Can buy them at a Dollar Store cheap and when finished put them in recycle bin for pick-up.. My biggest challenge would be to get the bag of Quikcrete out of my trunk after I got home with it. But I’d sure like to try making one like this. I saw where some crafters sprayed their mold with Pam cooking spray or one crafter used WD-40 spray. It helps to release the mold when it has set up completely. Thanks for your tuitorial.
what a great idea! it’s so cute. i love it!
http://www.artificialgrasslasvegasnevada.com/
This is totally the coolest most personalized idea ever! I'm going to do this. I never thought to make my own stepping stones and have been frustrated that the ones you buy are so ugly. GIDDY with anticipation!
Donna
Love the chicken wire tip! Thanks for helping to make this the most successful Modern Craftswoman Monday so far! Rory
So cute! I love that!
XOXO
Jen
What a great idea!! Those are so fun
Fun idea! What a cute story about you and your friend! 🙂
That is such a great idea. I love it! Thanks for sharing at 'Look at me, I'm SO Crafty!' at Fun to Craft.
What a fabulous idea! I would love to try this with my little guy! Thanks so much for sharing at the Sunday Showcase Party! I greatly appreciate it! Hope you have a great week! ~ Stephanie Lynn