C.R.A.F.T.

Creating Really Awesome Fun Things

  • Home
  • C.R.A.F.T.’s
    • Costumes
  • TRIPS
  • FREE PRINTABLES
    • 20 Crafts In 20 Days
    • Cultivating Creativity
  • PRIVACY POLICY
  • ABOUT
    • CONTACT
    • AS SEEN ON
    • You’re in!
  • SHOP
    • The Book
Home » Easy Sewing Projects » C.R.A.F.T. # 46: Grey Scale Quilt

C.R.A.F.T. # 46: Grey Scale Quilt

May 16, 2010 By Jamie Dorobek 31 Comments

I made this quilt for my boyfriend for Christmas one year…


I really enjoy creating quilts…if you can sew a straight line you CAN make this quilt!
Here is what I did:

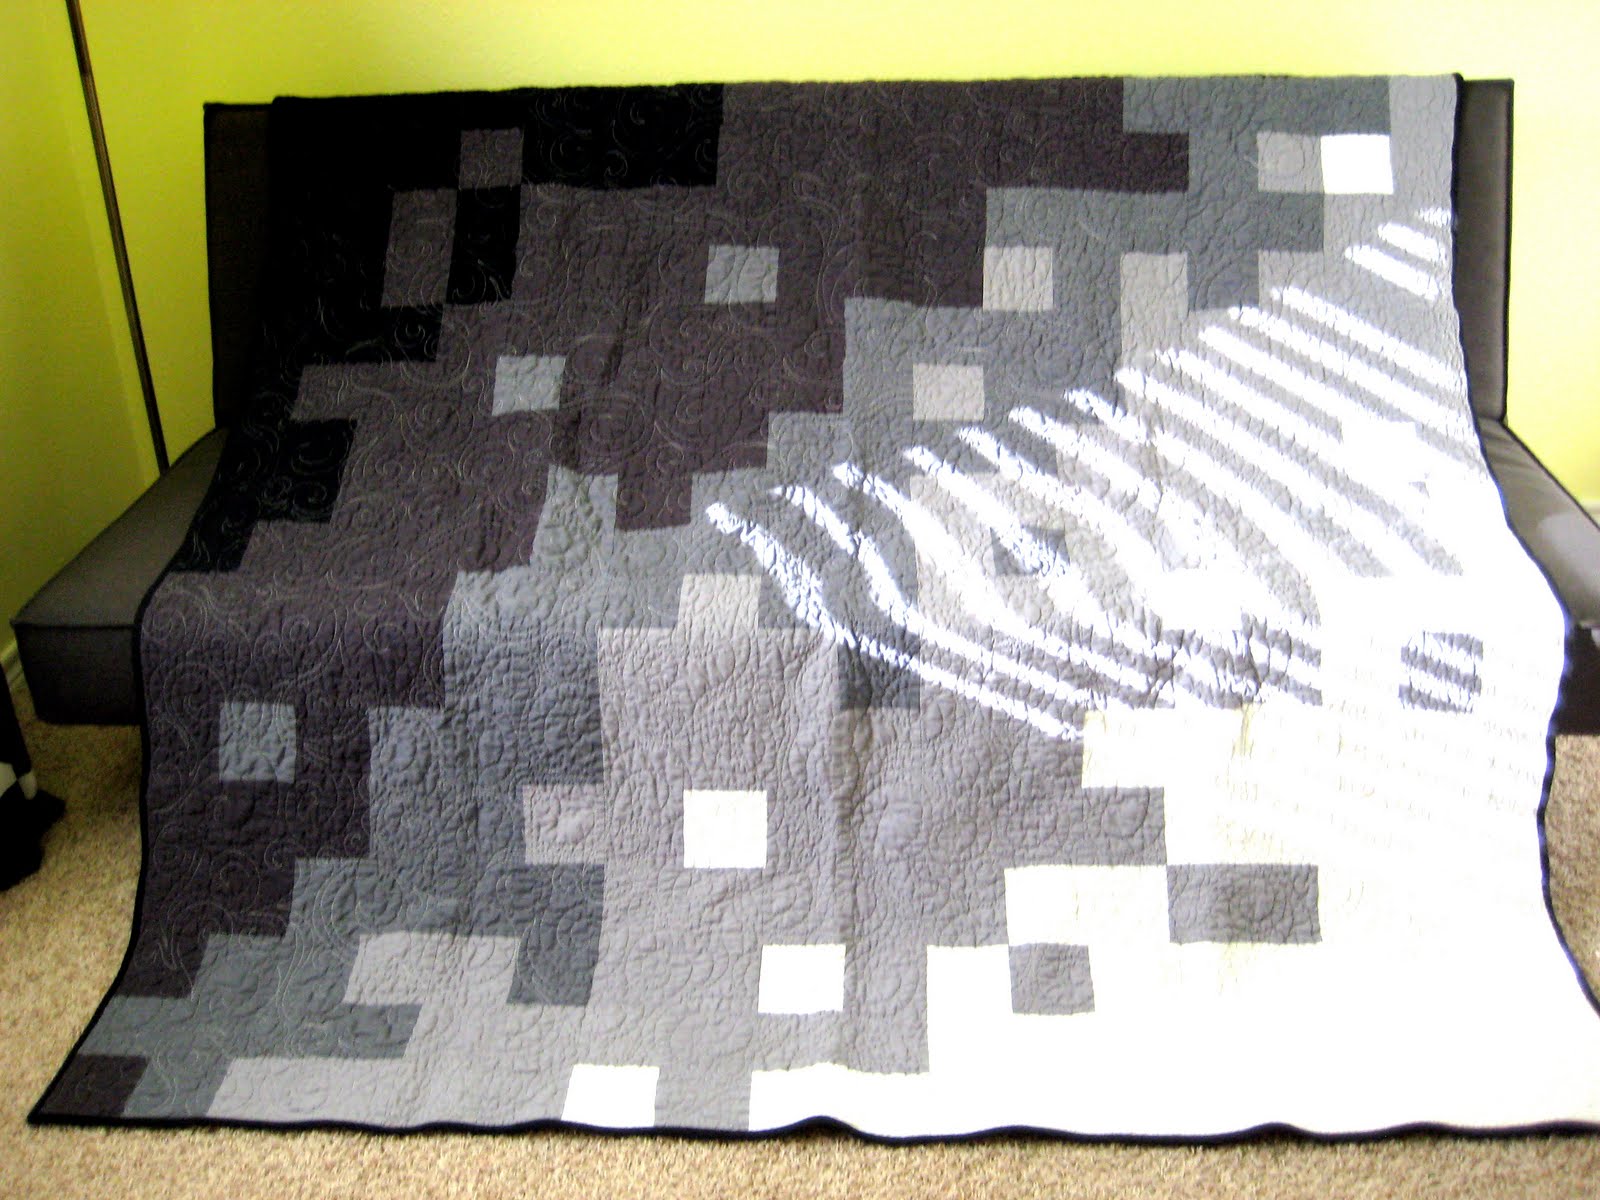
1: Make a simple design on graph paper, I was going for the faded look!
[I only quilt squares…I’m just a little scared of curves!]
2: Decide how big you want it….I was not going to put it on a bed…so size was not a big issue for me…I just wanted my design to work out 🙂
3: Cut out all of your squares…I used white, 3 shades of gray and black fabric. I used my graph paper design to figure out how many squares of each I needed.
[my squares were 5in x 5in]
4: Using your graph paper design, begin sewing groups of 4 squares together.
5: Be sure to highlight the squares you have sew together on the graph paper
[this can get confusing, but don’t be discouraged!]
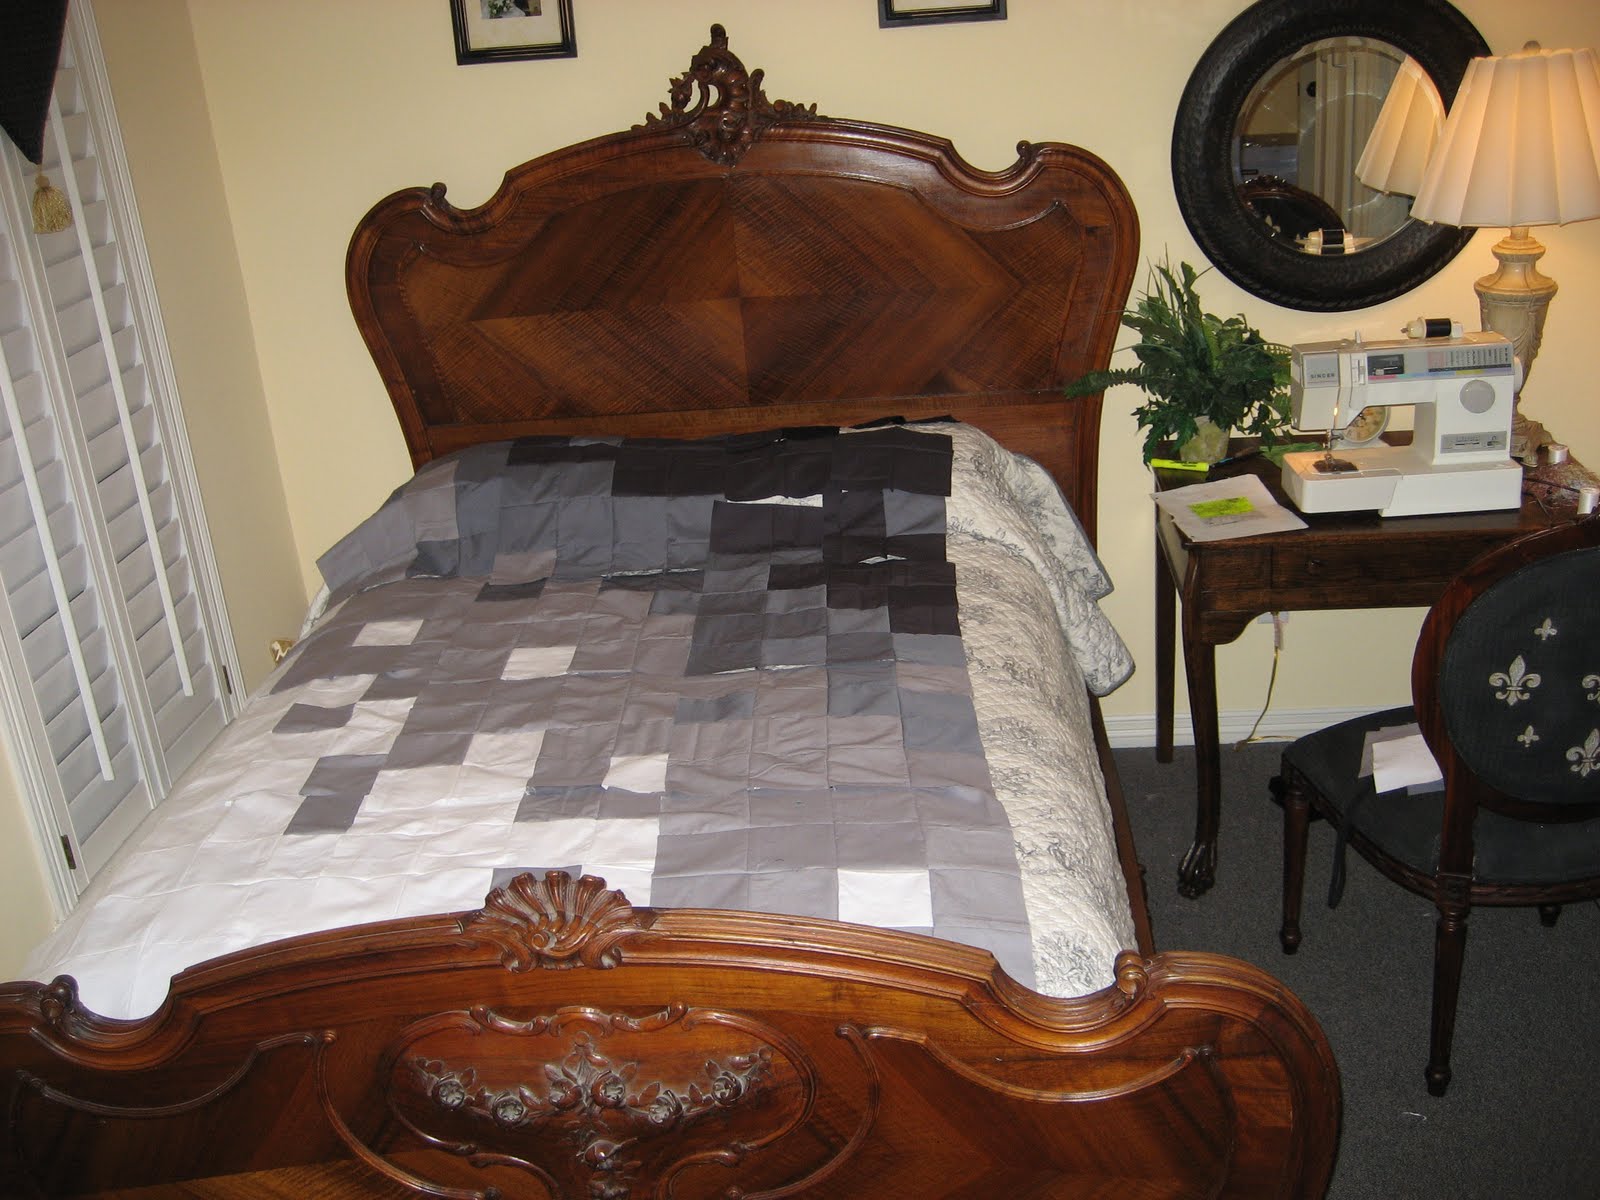
6: Lay out your entire quilt with the sets of 4 sewn squares.
7:Check out the diagram….
[ i had a really nice chart and it wouldn’t accept the html!]

1          1          2-          2
1          1          2-          2
1-a    1-a          2-a     2-a

Sew 1’s together in a square

Sew 1-a’s together in a square
Sew 2’s together in a square
Sew 2 a’s together in a square
Then sew the 1’s to the 1-a’s
Then sew the 2’s to the 2-a’s
Then sew the 1 & 1-a’s to the 2 & 2a’s

8: Repeat this pattern for the entire quilt. You last line of sewing should be to sew one half to the other half…does this many any sense?!

[This is a REALLY exciting part :]

9: Make a back…I suggest using a solid color, especially if this is your first quilt! The back needs to be 1 in. bigger all the way around your quilt (if you are going to get it machine quilted)
10: Take it to your local quilter…I love my lady, and pick out your favorite design…I chose crazy swirls!

11: My mom helped me embroider this one special square 🙂
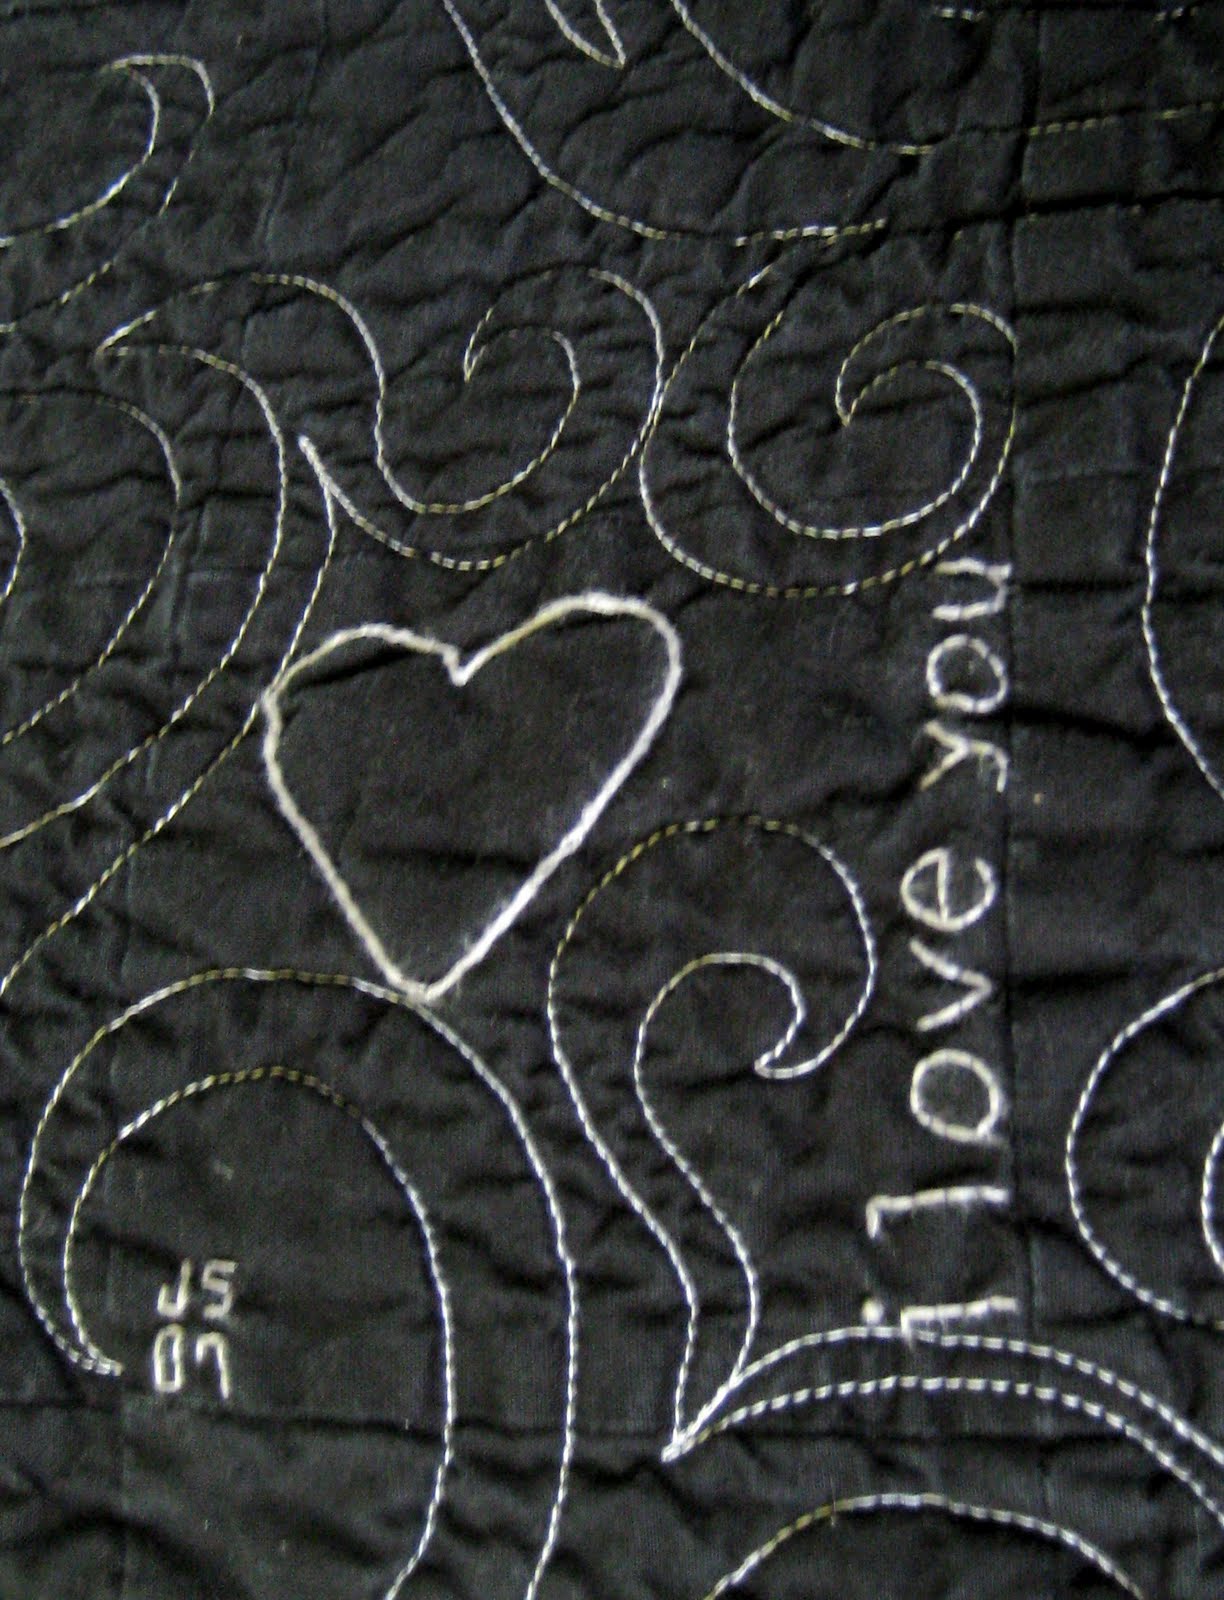
12: Get the quilt back, be amazed at your self, and then buy double sided bias quilt tape and sew on the border!
The finished Product:
[the triangle of white is just light coming in from the blinds] 
Happy Quilting!

Filed Under: Easy Sewing Projects

« I like knot jewelry
C.R.A.F.T. #47: Desk Makeover »

Comments

  1. Tere says

    July 4, 2010 at 2:46 pm

    Very creative and cute! I'm sure your boyfriend treasures this awesome quilt! Thanks for linking up to It's Party Time Thursday #8 @PonyTails&FishScales;!

    Reply
« Older Comments

Leave a Reply Cancel reply

Your email address will not be published. Required fields are marked *

Hi, I'm Jamie!
I Create Really Awesome Free Things for your home, wardrobe, kitchen, and kids in Austin, TX with the sometimes help of Andy!
About>   Contact>
  • Email
  • Facebook
  • Instagram
  • LinkedIn
  • Pinterest
  • Twitter

Best DIY Costumes

DIY Troll costume
Easy Adult Halloween Costumes
DIY Baby Bob Ross costume
DIY baby costumes

Popular Posts

  • Easy Adult Halloween Costumes 39 Best DIY Adult Halloween Costumes
  • Classroom-Valentines-Youre-awesome-sauce 50 Valentines Day Cards for Kids
  • Money Gift Box 23 Creative Ways to Give Money
  • Cricut Maker tips 10 Things I Wish I Knew About My Cri...
  • DIY flamingo-costume 37 Homemade Animal Costumes
  • Cookie monster trunk or treat 600 23 Creative Trunk or Treat Ideas

© Copyright 2019 · All Rights Reserved · Privacy Policy