Note: The Home Depot partnered with bloggers such as me for their Building Better Baths program. As part of this program, I received compensation for my time. They did not tell me what to purchase or what to say about any product mentioned in these posts. The Home Depot believes that consumers and bloggers are free to form their own opinions and share them in their own words. The Home Depot’s policies align with WOMMA Ethics Code, FTC guidelines and social media engagement recommendations.
If you’re new here, we’ve got some crazy remodel action happening in our bathroom. You can read all about it here: Part 1 (before pics), Part 2 (picking out materials), Part 3 (demolition).

So, part 3, left the bathroom looking like this:
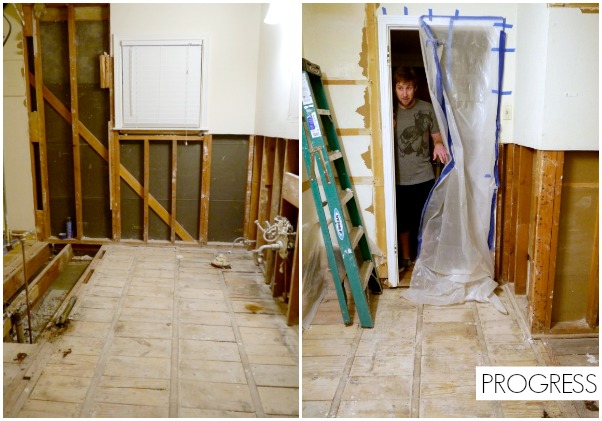
First, let’s talk about the change of plans. In this post, I shared our plan at that moment in time. It was basically to keep the footprint of the bathroom the same and add a long cabinet with 2 sinks, new fixtures, tub, and tile. Welp, that changed. Last minute we decided to go ahead and add the stand up shower. I wasn’t utilizing the vanity and Andy was super excited about the separate shower thing. So, that meant moving our closet wall back 6 inches. The average closet depth is 2ft. For whatever reason ours was 2.5 feet. The extra 6 inches was being wasted. So, here’s the orginial layout:

And here is actually what is going down in our bathroom:

The wall that got pushed back 6 inches? It’s been demolished. And those 2 doors in the pic are our existing closet doors. The wall will get re-built 6 inches back to give a little extra elbow room in the new stand alone shower. And all of those pipes, they have to be moved too.
So, demolition is over, the closet wall has been moved back. Yippy! This is where it gets real, and I tell you we hired more help! We had a handy man help us with the pocket door project right when we moved in, so we called him back. Unfortunately, he was busy, but referred us to another awesome guy that can do it all. (Always check reviews on yelp and/ or use Home Depot’s Red Beacon service to find trusted help!) We knew from the very beginning we would need help with plumbing and electrical. We thought we would do the rebuilding of the walls and taping and floating ourselves (I did it for the pocket door project, pre pregnancy). But, this baby is on his way (less than a month!), and this bathroom really needs to be finito. These guys told us they did dry wall and would even give us a tiling 101 lesson! Sold! (Tiling is one thing we really want to DIY!) Oh and one of them is really good at cabinetry. Double sold.
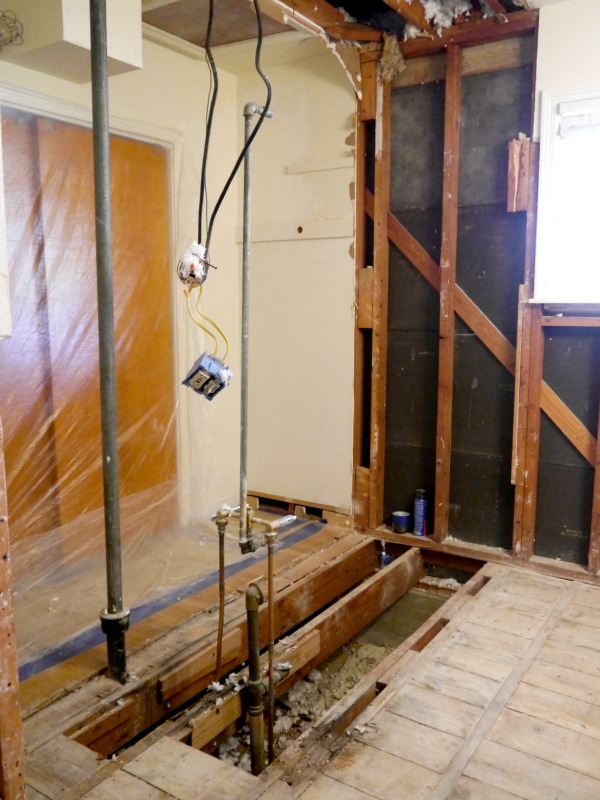
Plumbing and electrical had to be done first. They moved the plumbing to accommodate the stand alone shower, new bathtub placement, and the extra sink. They added 3 can lights and a bathroom fan: 1 above the bathtub, 1 above the new shower, and one right as you walk in the door. They moved switches and pipes. Oh this is a fun, sick fact, check out our pipe:
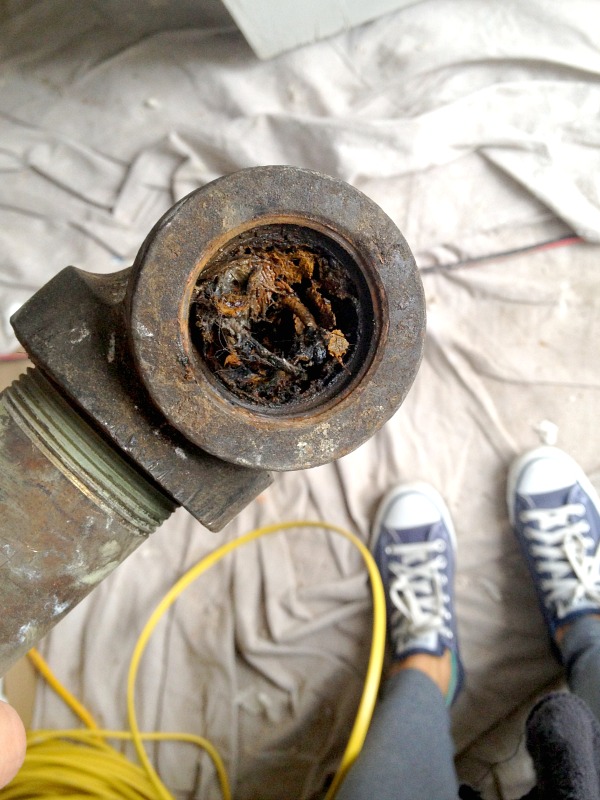
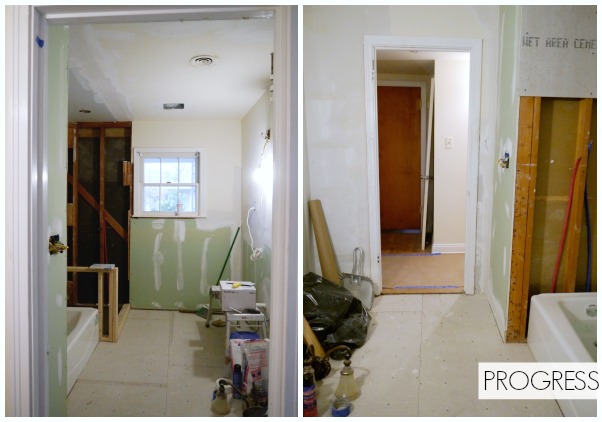
Oh that’s just 65+ years of crusty build up. Nice, huh? Yea, we got all of those replaced. New pipes in casa de Dorobek! So, new pipes, lights, and ply wood floors went down in the bathroom. So, here is the closet wall rebuilt 6 inches back and all of the plumbing moved. The current status from both views. You can see where the 3 new can lights are in the ceiling.

And the ply wood floors are ready for cement board. Before the cement board was laid, they added the tub (it is not installed yet) and built the basic frame for the stand alone shower. Cement board ensures a solid surface for your tile.
Next up, tiling! Can’t wait to see those crispy clean hexagons all laid out! What do you think about our pipe crust? Sick, huh? How about a separate tub and shower? Would you have given up your vanity for a stand alone shower? Or am I nuts? I’d love to hear…

Comments & Reviews
I came across your blog and now I can’t wait to see the finished bathroom.
I love seeing home remodels! I can’t wait to see your bathroom all done and pretty!
I can’t wait either!
So exciting Jamie!! It’s going to be awesome. I don’t usually use my bathroom to get ready anyway, so I think I could live without the vanity. The tub is going to be great when that little guy comes too! Can’t wait to see it finished!
I am SO excited about a clean, new tub for baby! #CantWait