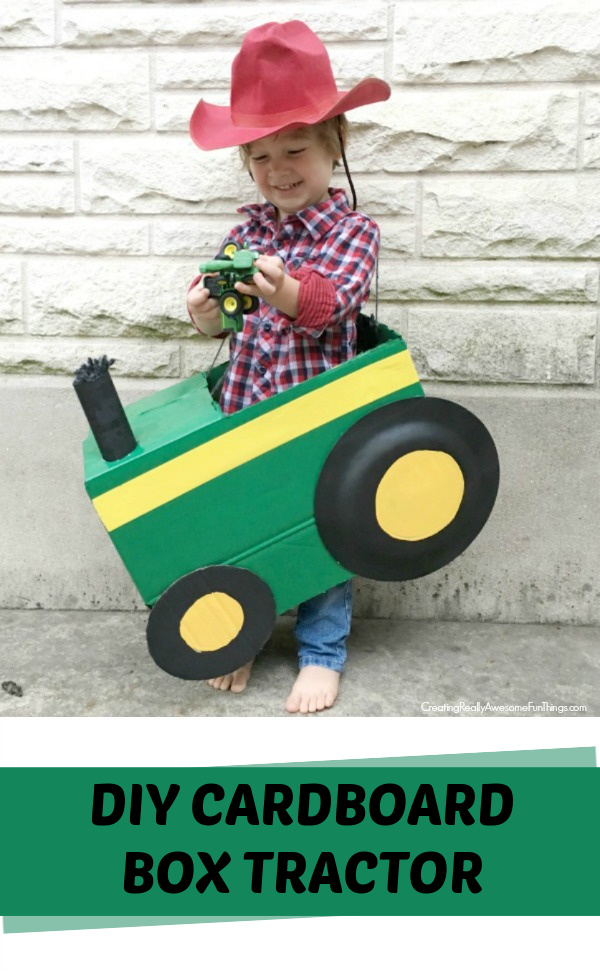
Maxwell had a fall fest at his school today which meant dressing up like someone or something on a farm. How about a cowboy or maybe even a cow? Nope. Max made it very clear that a tractor was the only option. At 7pm last night I attempted to craft up a cardboard box tractor costume because the 2 and half year old in our house is the boss and I just do what I’m told.
Here’s what you need to make a cardboard box tractor
- Diaper box (or any small cardboard box)
- 1 extra cardboard box (cereal boxes will do)
- 2 sturdy paper plates (you could also use card board)
- Drop cloth (or anything to paint on)
- Green spray paint
- Black spray paint
- Scissors
- Empty paper towel tube
- Thick yellow tape (or yellow paint)
- Sponge brush
- Packing tape
- Black ribbon or straps from a reusable bag (for straps)
- Hot glue gun
- Cowboy hat for your little farmer 😉
How to make a tractor out of a diaper box
The hardest part about making the tractor costume is waiting for the paint to dry. I’m all about using what you’ve got so if you don’t have yellow Duck Tape laying around, use paint or construction paper instead!
Step 1- Prepare the diaper box
First, cut a square out of the top of your diaper box so that your toddler can fit inside of the box. Also make sure that the bottom is cut open and the flaps are hanging down. The flaps will get painted. 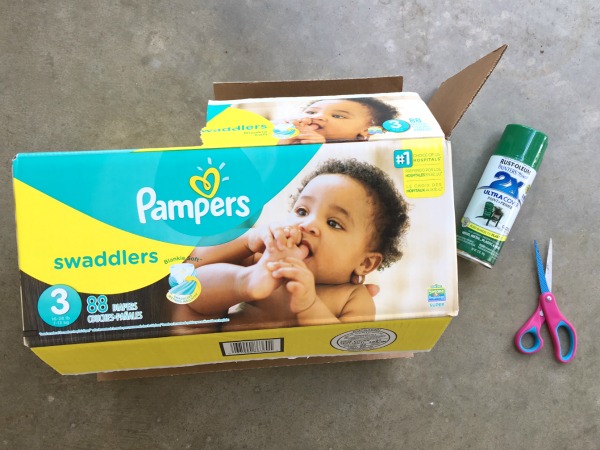
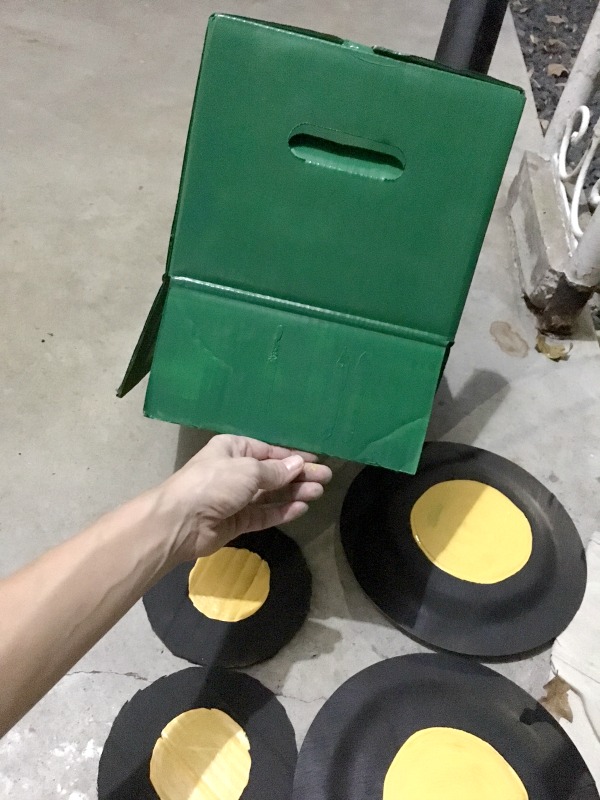
Step 2- Paint the box green
Now, spray paint the entire box green. The box will likely need a few coats of spray paint.
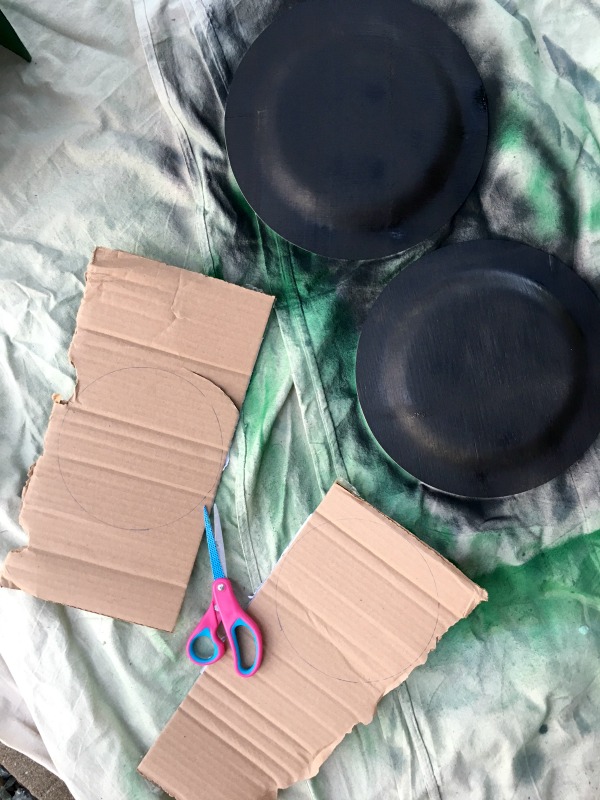
Step 3- Make tractor wheels
Next, it’s time to start working on the cardboard box tractor wheels. I used 2 sturdy bamboo plates for the back tractor wheels and cut 2 smaller wheels out of cardboard. I used a bowl from my kitchen cabinet as a stencil for the smaller wheels.
Step 4- Spray paint accessories black
Grab your empty paper towel roll and lay all 4 wheels on the drop cloth. Spray all 5 pieces with black spray paint.
Step 5- Tractor details
Once the black wheels are dry, use the paint brush to paint large yellow circles in the center of all 4 wheels. This took a few coats too. On the front of the tractor I painted a black semi circle and glued on 2 square silver headlights. Oh and if I ever make another cardboard box tractor, I would add a steering wheel with another cardboard circle spray painted black.
For the tractor’s smoke stack, I spray painted a cardboard tp tube black and attached it to the top of the tractor. I made a dark grey yarn pom pom to stick out of the stack, but for this cardboard box train costume, I used stuffing from a pillow and that was really cute!
Step 6- Assemble the tractor
Once everything is painted, it is time for assembly with your trusty hot glue gun. Oh and I forgot to note, the yellow stripe is yellow duct tape so it was super easy to just tape on, but you could also paint a stripe too. I eye balled the height of the wheels to ensure that when the tractor was sitting it would stand (somewhat) level. For the smoke stack, I just cut a hole in the box, shoved the paper towel roll inside and stuck a peice of packing tape to the inside. Very fancy.

Step 7- Add straps
I used yarn to make the straps, but I don’t recommend it. I’d use thick black ribbon or the straps from a reusable grocery bag next time. Don’t attach the straps until you have the toddler standing in the box to adjust them before hot gluing. Max’s needed to be shorter.
Max and his preschool class had a lot of fun playing in his cardboard box tractor! So much fun, I ended up making him and his class a Polar Express cardboard box train for Christmas! If you’re looking for more cardboard box costumes, don’t miss these:

Comments & Reviews
Adorable, and just up my alley. Thanks for sharing on craft schooling Sunday!