Note: This post brought to you by Avery.
Back to school is just around the corner, so grab your supplies and let me show you how to make a lunch box! A personalized lunch box to be exact. It’s great for kids or could even be used as a first day of school teacher gift.
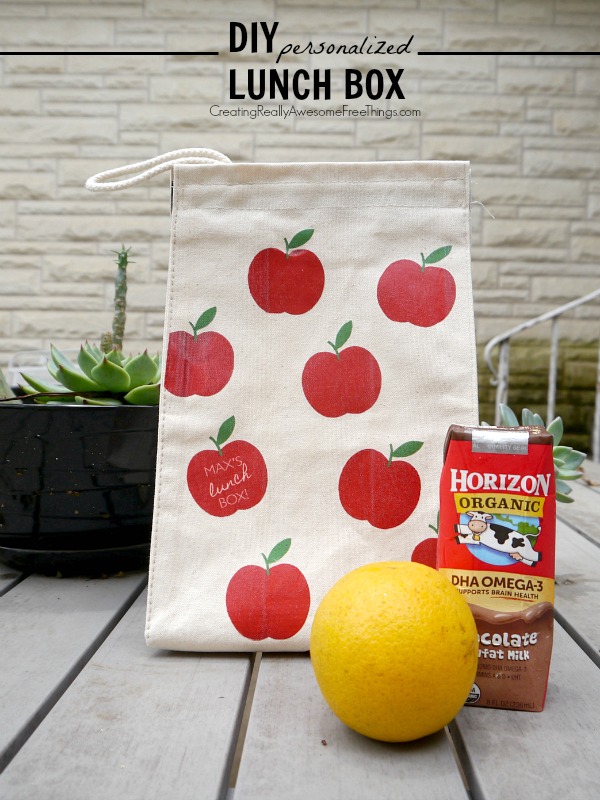
I love this project because the apple iron-ons can be used for tons of project ideas. I definitely want to make a few canvas bags for teacher gifts or event t-shirts for the kids!
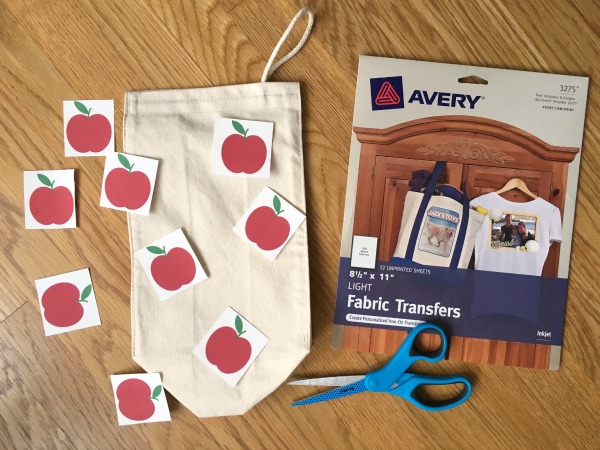
Here’s what you need to make the lunch box
- Canvas lunch box (This bag is a great deal!)
- Avery Light Fabric Transfers sheets (#3275)
- Color printer
- Scissors
- Iron
- Ironing board

How do I print the iron on apples?
There are 2 ways to print the iron-on apples. This depends on if you’d like to customize your iron-ons or not.
To personalize the lunch bag, follow the steps below
For instance if you wanted to add your child’s name instead of “Max’s”, you will want to download the .avery file. To do this:
- Download this free Apple Lunch Box Decals to your computer. It is a “.avery” file.
- Go to Avery. /print
- You’ll see where it says “Open a saved project from” in the middle of the page, click the green “your computer” button and upload the .avery file that you just saved from your computer.
- This will pull up the design and you can customize and print form here.
- I used the Avery Light Fabric Transfers sheets (#3275) to create the iron-ons.
To print without customizing, follow the steps below
If you want to print without customizing the apple, just download this .pdf files to your computer and print it out on the Avery light fabric transfers.
How to make a lunch box
Once the apples are printed it is time to make the lunch box!
Step 1- Trim the apples
Trim each apple as precisely as possible. Then, make sure that your iron is empty of all water and set the iron to the highest cotton temperature setting.
Step 2- Iron the bag
Iron the lunch box to make it as smooth as possible.
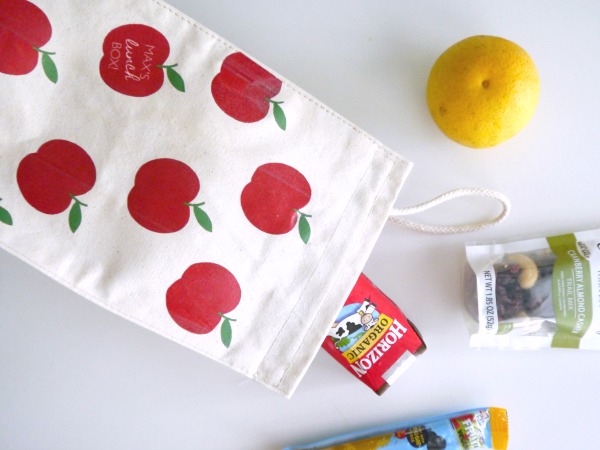
Step 3- Adhere the apples to the lunch bag
Next, lay out the apples on the lunch box. To iron, place one apple face down on the lunch box, and firmly press the iron over the transfer for one minute. Then repeat this ironing process for each apple. Allow the apple transfers to cool down.
Step 4- Peel the apples
Now, it’s time for my favorite part… peeling! You need to peel the transfer paper off of each apple. The apple stem is the most delicate part, so start there being very careful not to break the thin stem.
For more fun DIY projects with Avery Office Products and/or back to school craft ideas, don’t miss:

Comments & Reviews
So cute! 😀
This is so cute!! I want to make one of these for myself.
What a fun tutorial! Thank you so much for participating in the Get It Together Link Party! I’m pinning this to my Back to School board! 🙂
Super cute! Found you via the FrugalMommas team
Cute! Love this idea to personalize your own unique lunch box. This is so much cuter than what I see available in the stores! Thanks so much for sharing with us at Snicikerdoodle Sunday!
Oh this is such a great idea and so very cute too! I love simply craftiness like this! So very clever!
Thanks for sharing (and for linking up to the #SHINEbloghop).
Wishing you a lovely week.
xoxo
Such a great idea. Thanks for sharing at the Inspiration Spotlight party. Shared.
This is such a cute idea! I love iron-on transfers, esp. for a non-vinyl cutting machine owner such as myself! Visiting from This Is How We Roll party.
How cute is that! I love the pattern you chose. Thanks for joining the Family Joy Link Party!
This idea is too cute! I’m sure so many kids will love this =)
Blessings,
Edye | http://gracefulcoffee.wordpress.com
What a fun idea! Love the apples!