Note: This is a sponsored post for ClosetMaid. Every thought, opinion, and experience is 100% my own.
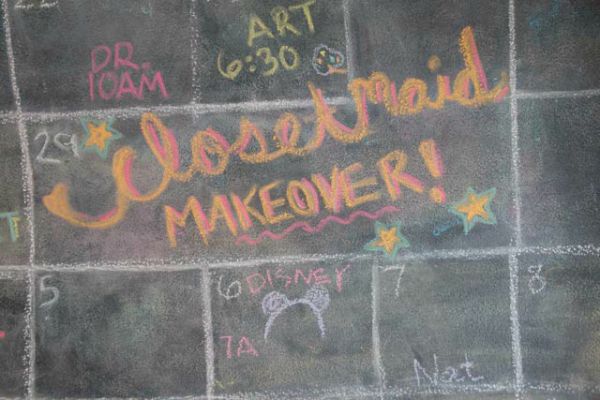
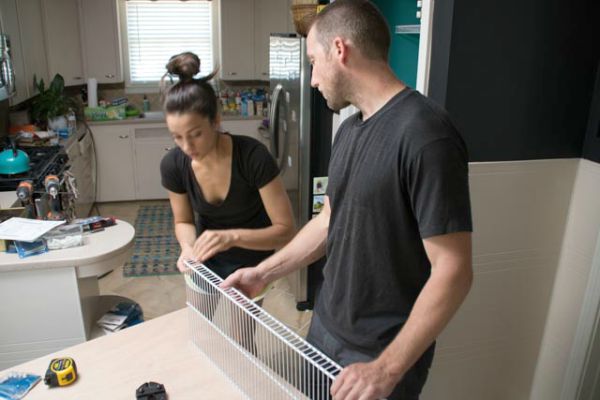
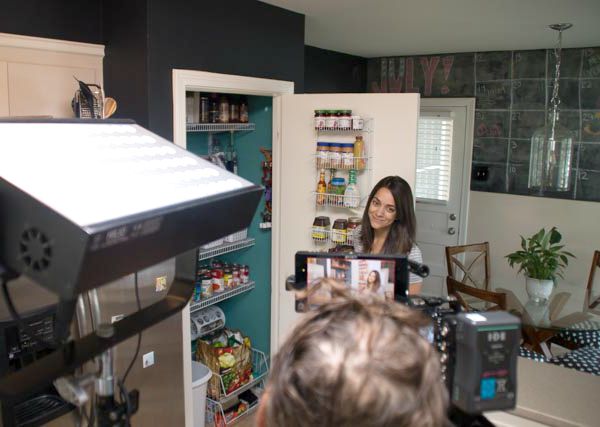
If you follow along on Instagram, you might remember lots of posts back in late July involving video cameras and closet makeovers in Casa de Dorobek. Today, I’m sharing behind the scenes pictures of the how to organize a pantry and closet makeover projects with ClosetMaid. It was also a major kick in the butt to get all of our closets in shape. (We gave our master closet a major makeover last weekend!) ClosetMaid worked with us on 3 closets in 2 rooms- Pantry in the kitvhen and both closets in Maxwell’s nursery.
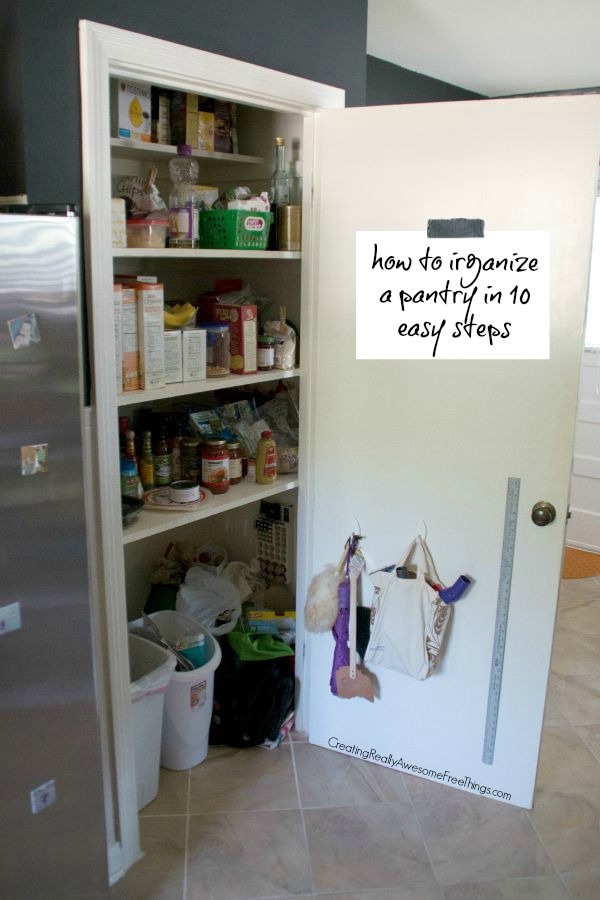
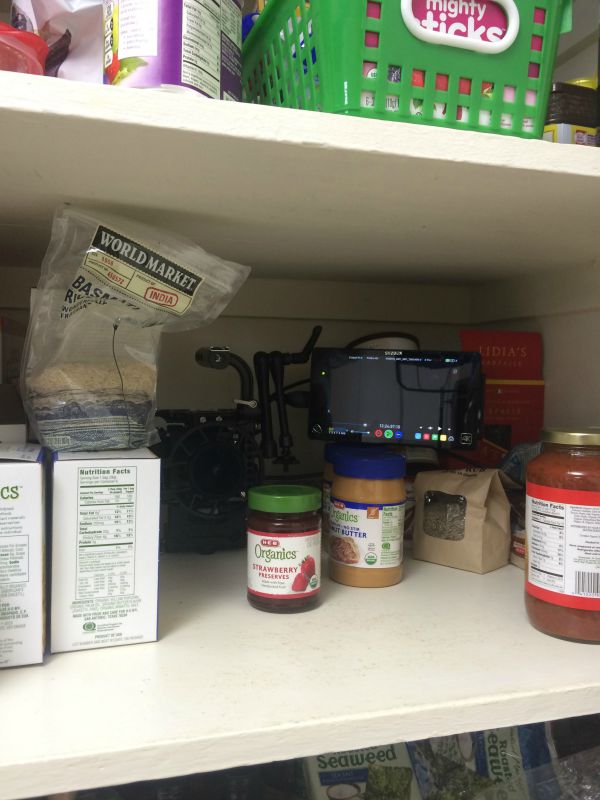
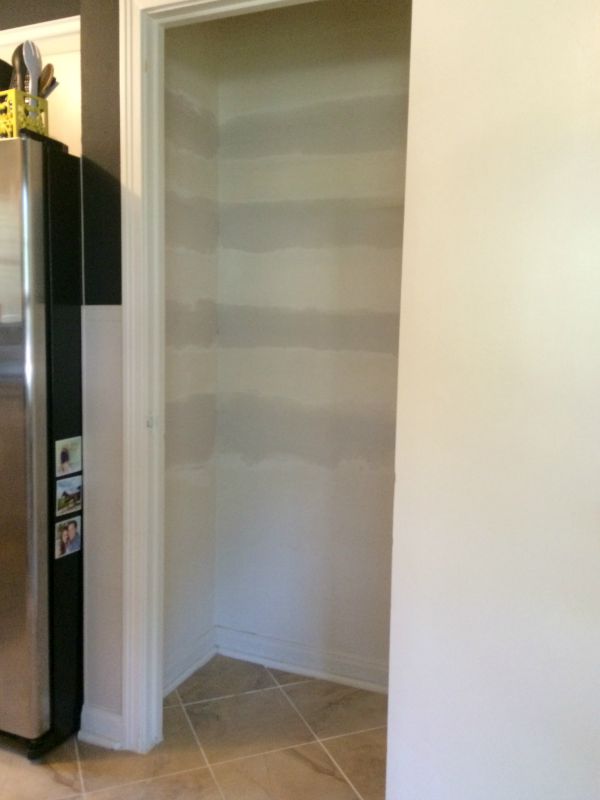
Before we get to the good stuff, here’s the pantry before the big makeover:
What you need to organize a pantry
- Wire door shelf
- Magnetic strips
- Plastic bag holder
- ClosetMaid wire shelves
- Bolt cutters
- Clear containers
How to organize a pantry
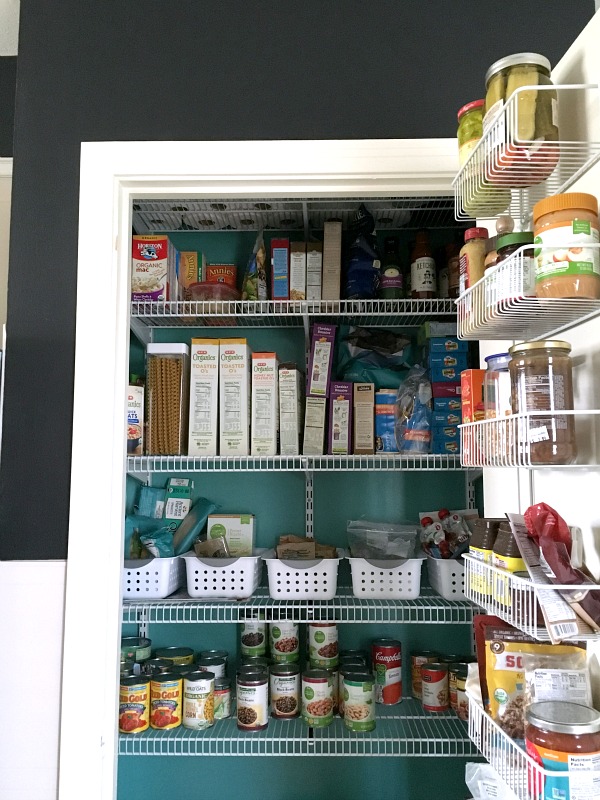
We had a 11 people in our home for 3 days to film our pantry makeover. As you likely know, the first step to organizing involves a big giant mess! So, I’m going to interweave fun behind the scenes pictures into a step by step for making your pantry pretty, organized, and a heck of a lot more functional. It’s fair to note that our pantry had only 4 fixed wood shelves that were about 24 inches deep. After using the pantry for 2 years, I declared that 24 inch deep shelves were not working for me. Food could hide way to easily on those deep shelves. So, we opted for a 16 inch deep wire shelf system from ClosetMaid. The wire is proving to be extra awesome since you can see through it. I can easily see what I’ve got hiding up on the top pantry shelf.
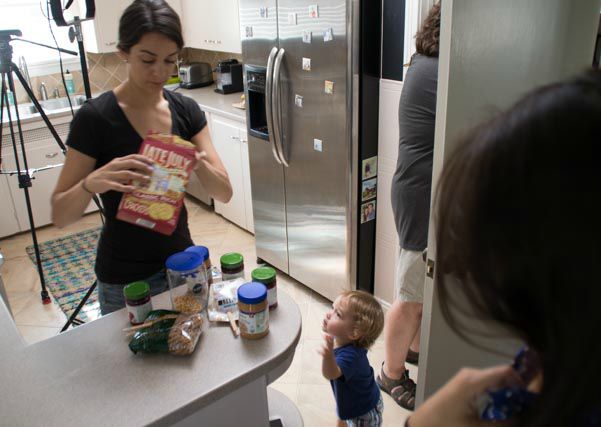
1. Take everything out of the pantry and set it on your counters
You need to see it all! Grab everything from your pantry and place it on your counters. Attempt to set things out in some kind of order. For instance, all cans in one corner, boxed foods in another, larger jars of sauce in another, etc.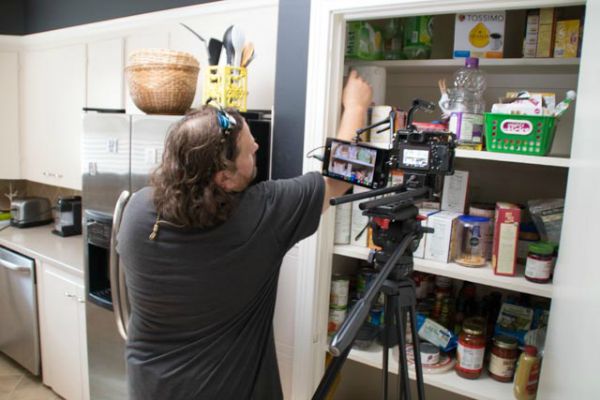
2. Get rid of the trash
For me that was things like crusty old mints, parmesan cheese packets from the pizza place, plastic silverware, etc. Or maybe I’m the only one that uses my pantry as a junk drawer?!
3. Get rid of food that is expired
(Tell me I’m not the only one?!) Also, make a mental note that you have 3 jellies and 4 peanut butters and probably don’t need to buy those items for a little while.
4. Donate food you know your family won’t eat
Donate any food items that are still good, but you know your family will not eat. For me, that was things like pumpkin pie filling? I mean, I don’t even like pumpkin pie. (I do, however, love pumpkin bread!) Where in the world did that come from? Oh and put cameras in your pantry just for fun. Kidding. Kidding. We shot a scene of me hunting for the jelly jar in my tornado of a pantry.
5. Rip out your old shelves and fill in the holes
Have a broom and vacuum handy. There will be a little clean up.
6. Paint the walls a pretty color
I used my tea pot (see below) as inspiration for the teal color in my pantry. If you’re not typically very brave with color, I challenge you to pick a fun color for your pantry! It’s a tiny room and I promise it will make you happy every time you open the door! And don’t ask your husband, just pick one and paint it!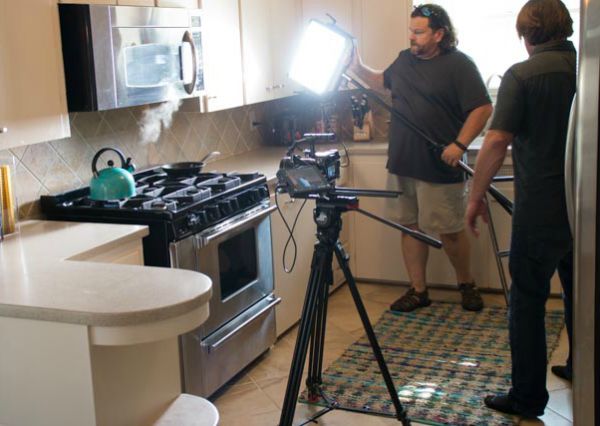
7. Install ClosetMaid wire shelves
The ClosetMaid wire shelves and shelf track is very easy to install. I love that all you need to cut the shelves is a pair of bolt cutters. I had no idea, but once you install the system the shelves can all be moved around very easily.

Andy and I installed the pantry together, and then I did the closets in Max’s room all by myself! (More on that soon, promise!) You will need to buy or borrow a pair of bolt cutters![]() to cut the wire shelves. Oh and the wire shelves are easy to cut!
to cut the wire shelves. Oh and the wire shelves are easy to cut!
8. Install a wire door shelf
I absolutely recommend a wire shelf![]() for your pantry door. This shelf holds all of the packaged food that comes in bags, small boxes, and bottles that typically gets lost on shelves.
for your pantry door. This shelf holds all of the packaged food that comes in bags, small boxes, and bottles that typically gets lost on shelves.
9. Put food back in pantry
Here’s the method to my madness:
- Top shelf: bulky things I don’t use very often like coffee pods, extra paper towels, and water bottles.
- 4th shelf: Sauces, cake, muffin, and other boxed mixes that I don’t use on an every day basis.
- 3rd shelf: Cereal boxes, chips, and other tall jars like olive oil, vegetable oil, and vinegar.
- 2nd shelf: 5 white baskets (2 for Max foods, popcorn, oatmeal, pasta)
- Bottom shelf: Cans
10. How to store other non pantry items
We have our trash can and recycle bin on the floor in our pantry. However, if you have another spot for trash, I’d highly recommend adding more vertical shelves.
- Cookie cutters– I also installed a magnetic strip
 to store my cookie cutters.
 - Batteries– We bought a wall mounted battery organizer.
- Plastic bags– We’ve had this plastic bag organizer for years and re installed in our pantry.
- Clear bins– I re-used some old white bins, but I will upgrade to clear bins soon.
- Wire door shelf– This is a game changer for pantry organization!
Here’s one good after, but to see all of the deets be sure and check out the video below!
Now, to see the pantry final reveal (and loads of Maxwell cuteness!) check out this fun video that ClosetMaid put together! And I’m going to do another post about the nursery closets soon. They’re kind of amazing, just sayin’!
Thank you, ClosetMaid, for giving us the kick in the butt to get ourselves organized. I freakin’ love it!

Leave A Reply!