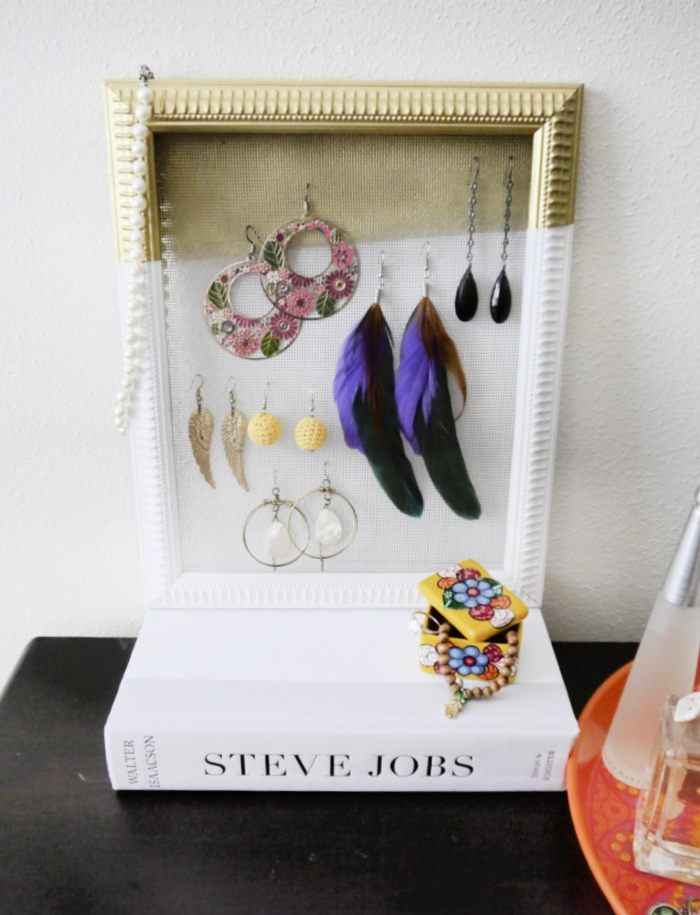
The DIY earring organizer was one of the first blog posts on C.R.A.F.T. It’s also one of my all time fave projects and the original earring organizer still hangs on my bathroom wall to this day. Although, we just moved into our first real house, I’m a pro at living in small spaces. Utilizing every nooks and crannies is essential to making a small space work for you. I love to hang these on the backs of the doors or even add free standing doors to organize whole spaces, like I did with my kitchen door organizer or the re make of the door to organize kids school stuff!
Ready to learn how to make your own earring organizer with a picture frame and a wire mesh?
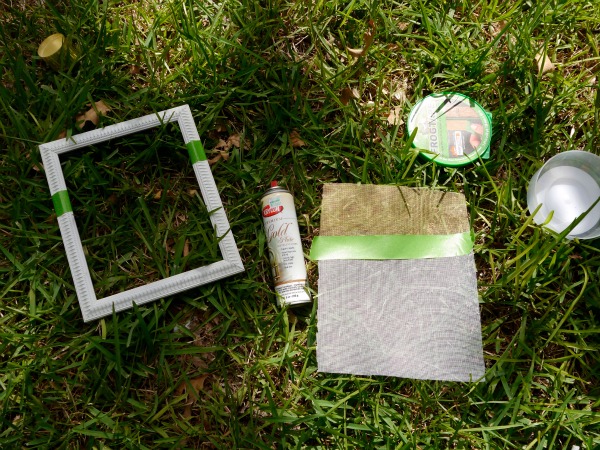
Here’s what you need to make an earring organizer
- Any size picture frame
- Staple gun
- Scissors
- Spray paint
- Painters tape
- Window screen (I bought an old screen at Habitat Re-Store for $1 and cut it up.)
How to make an earring organizer
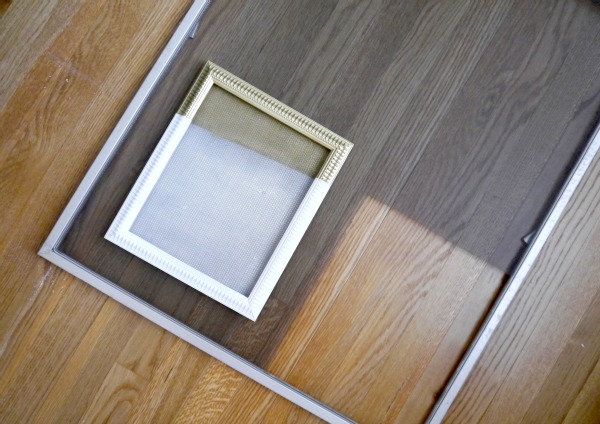
Step 1- Hunt down a window screen
The window screen is easier to find than you might think. If you live in a big city, check out your local Habitat Re-Store for an old window screen. Here’s the one I bought for this project. Use a pencil to trace your frame and cut the screen out. I’ll probably make a few more earring organizers as gifts for friends at some point.
Step 2- Spray paint
After you cut the screen, it’s time to spray paint. I used Frog Tape to make nice crisp lines with my spray paint, like so…
Step 3- Staple the screen
Then, staple the screen to the back of the picture frame. You can’t use a regular stapler for this project. You need an upholstery staple gun for this DIY project.
Step 4- Hang
You can easily hang the earring organizer on the wall with a small nail, but I love these picture hanging strips, especially if you are a renter. (I’m obsessed and use the strips everywhere!) You could put the earring organizer on the back of a door, wall, or even just set her on the counter. You’ve got options, baby!
Looking for more organization projects? Don’t miss:

Comments & Reviews
I really love the idea for saving space.
that’s cute
I need one!..I’m such a mess when it comes to earrings :)..thanks for sharing 🙂
awesome idea! love the two toned look. Such a great way to get your earrings organized and stay organized! I love that you can choose to make these in various sizes depending on your decorating and organizing needs 🙂 Thanks for linking with Snickerdoodle Sunday!
Pretty cool result. Thanks for the tutorial.
I shared this article on my site.
Happy Thursday and thank you so much for linking up with OMHG WW! Please come and share with us again next week! xx Ashleigh @SimplyWright
Co-Host, Oh My Heartsie Girls Wordless Wednesday Link Up
Love this! What a clever and stylish DIY . I would love for you to stop by my joing and join our Something to Talk About link party!
Have a great day!
Karen
NICE one ive seen yet! Gotta try this! Entering!
Very cute! Just entered!
Thanks, Nat!