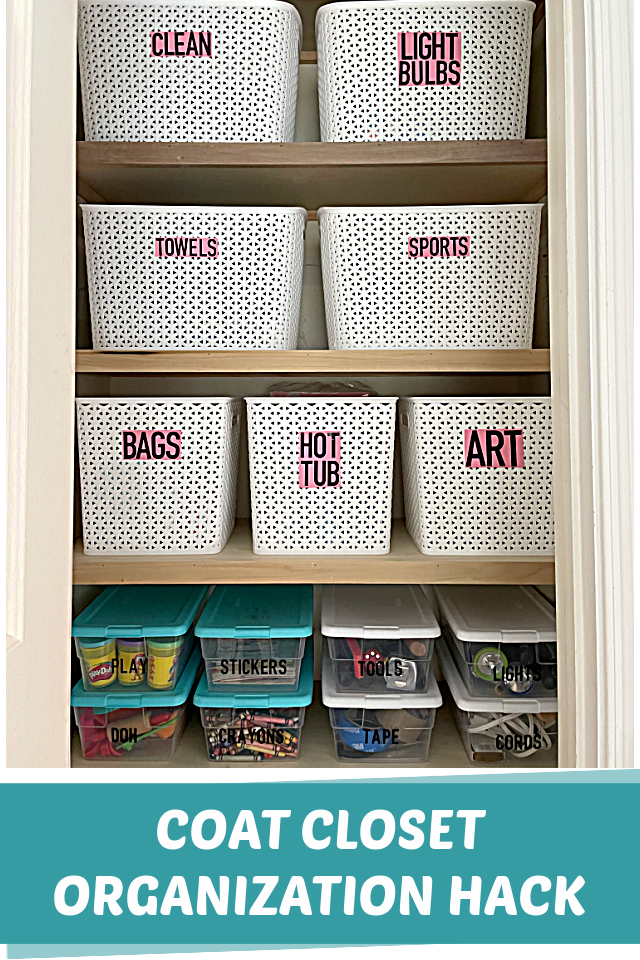
Are you ready for a life changing coat closet organization hack? We live in Texas and don’t own many coats, so the idea of dedicated closet for coats is silly. What we really needed is a place to store things like hot tub supplies, beach towels, light bulbs, extra art supplies, tools, soccer cleats, extra paper towels, and reusable bags. I’m going to show you how I turned our basic coat closet into a storage closet masterpeice with my Cricut Joy.
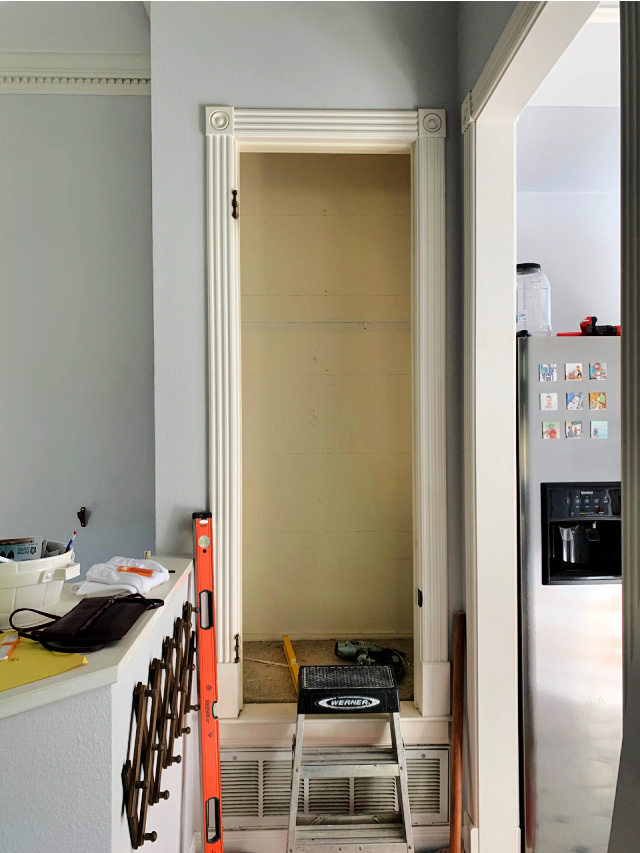
Here’s what our coat closet looked like before we built the shelves. We took out the hanging rod and used a pencil to plan how many shelves we needed. Guess what I used to determine the height of the shelves? A paper towel roll, ha!
I bought the bins to make sure everything fit on our new shelves. Now, it’s time for labels!
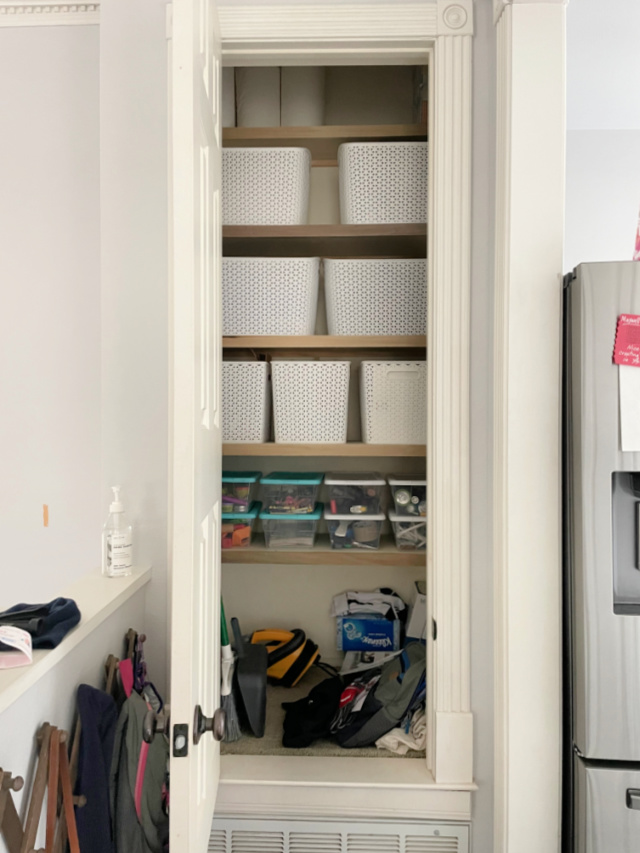
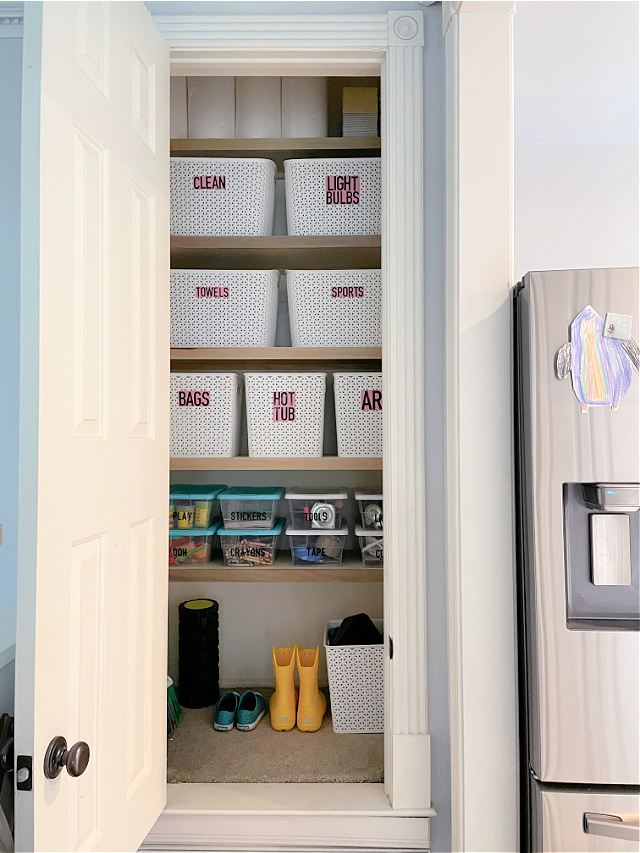
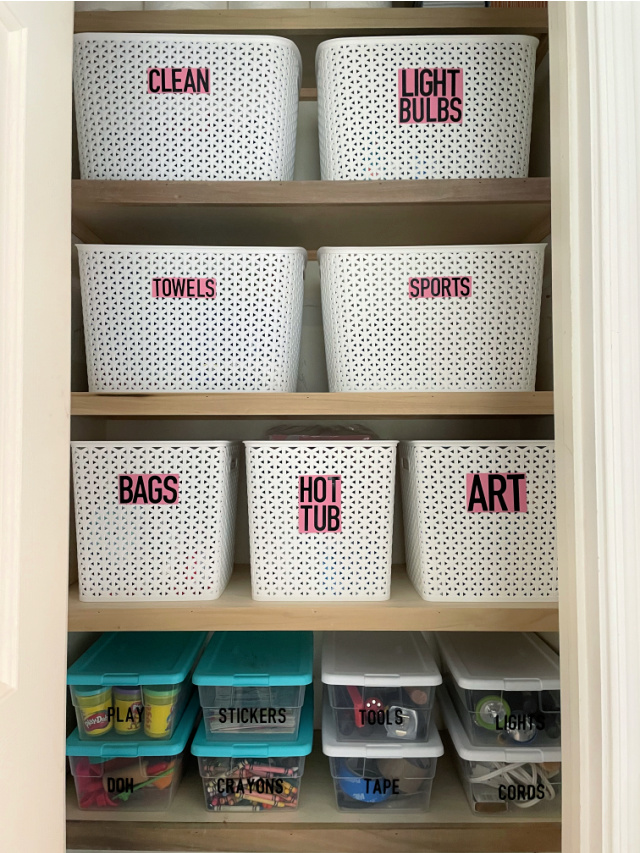
This closet serves our family so much better than a coat closet. The kids know that they are allowed to get anything out of the bins with the turquoise lids. For super easy access, I keep my beloved foam roller, broom, dust pan, and the kids rain boots on the floor.
What you need to organize your coat closet
- Containers- I used white plastic containers from Target with a textured front. Because the front of the container is textured, I decided to adhere the labels to card stock and then attach the labels to the container with glue dots.
- Cricut Joy
- Smart Vinyl in black
- Pink card stock
- Glue dots
- Transfer tape
- Scraper tool (or credit card)
How to make labels with the Cricut Design Space App
I love that I can make vinyl labels with my Cricut Joy from my iPhone. I love that no mat is involved and the vinyl roll is 10 feet long. I made all of my labels with one cut. It’s a label making miracle!
Step 1- Open up Cricut Design Space App
Once you have the Cricut Joy set up on the Cricut Design Space™ app, simply tap the blue “New Project” rectangle in the top left corner of the screen.
Step 2- Tap text & Size
Next, tap the the “Text” icon at the bottom of the screen. The “Insert Font” box allows you to choose the font you want to use for your project. DIN 1451 is my favorite font for labeling. It’s clean, easy to weed, and easy to read. I always use all caps. You can also easily scroll through all of the font options and choose the one you like the best. Next, type the labels into the font box. Then, size each label to fit on the container.
Step 3- Make It
Tap the green “Make It” button in the bottom right hand corner and the “Load Type” screen will appear. If you are using a Cricut Joy Smart Vinyl, tap “Without Mat”.
Step 4- Select Accessory
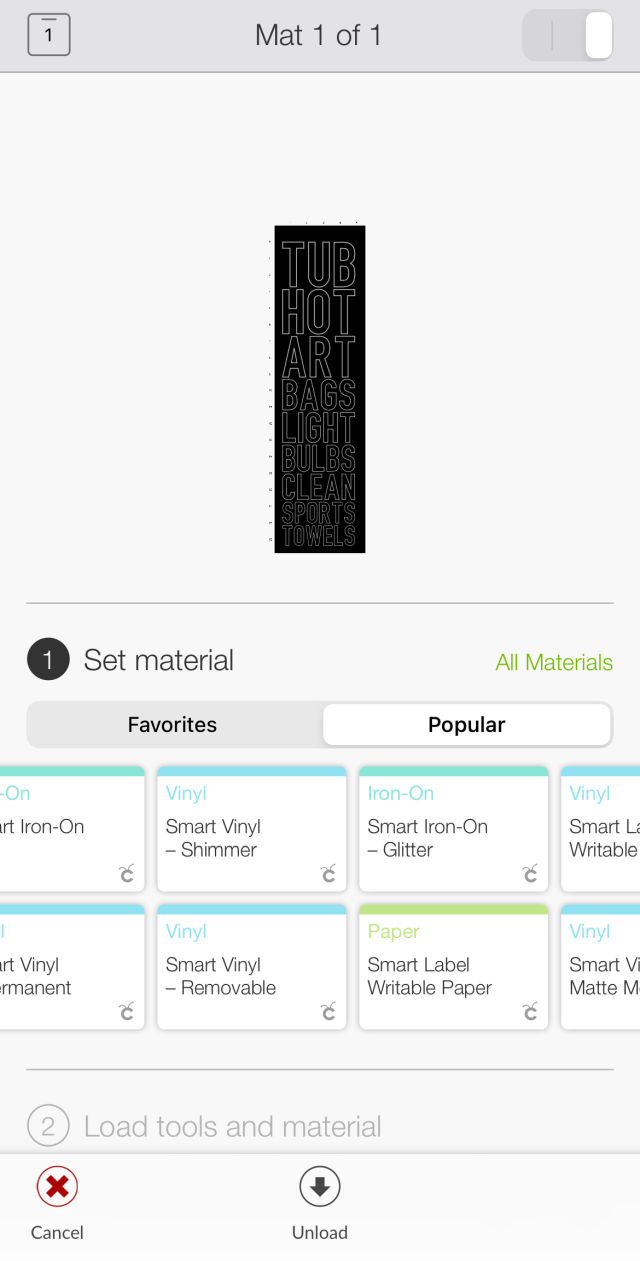
Next, you will see a screen that says, “Mat 1 of 1″. This screen tells you how much vinyl you need for this project.
Step 5- Set & Load Material
This screen allows you to “Set material”. For the project, I am using “Smart Vinyl- permanent” and it pops right up in the popular materials list. Now, it’s time to “Load Tools and material”.
Step 6- Tap Go
The App will say “Preparing” and then “Cutting”. It will show you how much time is left for the cut. Lastly, tap the unload button and you’re vinyl label is cut!
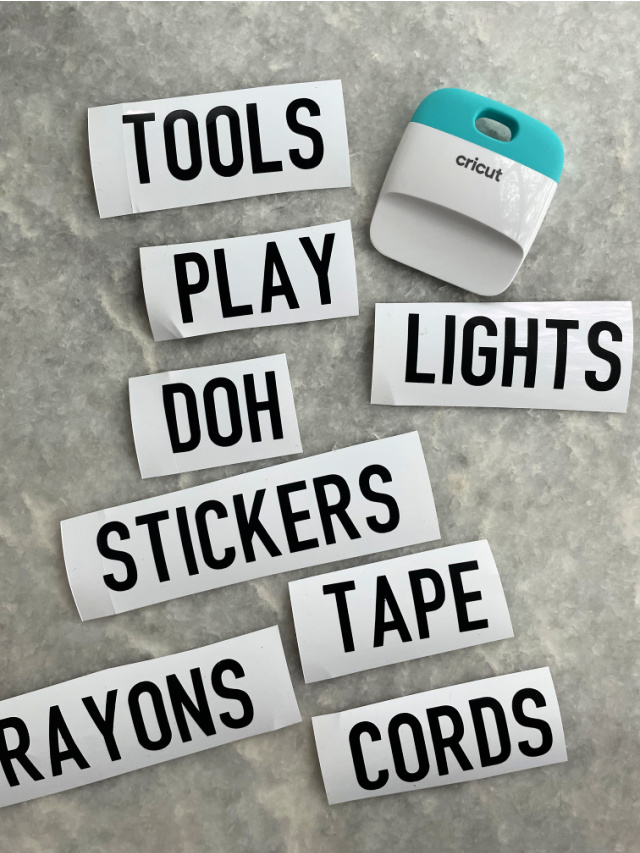
Step 7- Trim & Weed
Now, trim around the label with scissors. Next, weed the label or remove access vinyl from around the label. Cut a peice of transfer tape a little bit larger than your label and use a scraper tool (or credit card) to transfer the label to the transfer sheet.
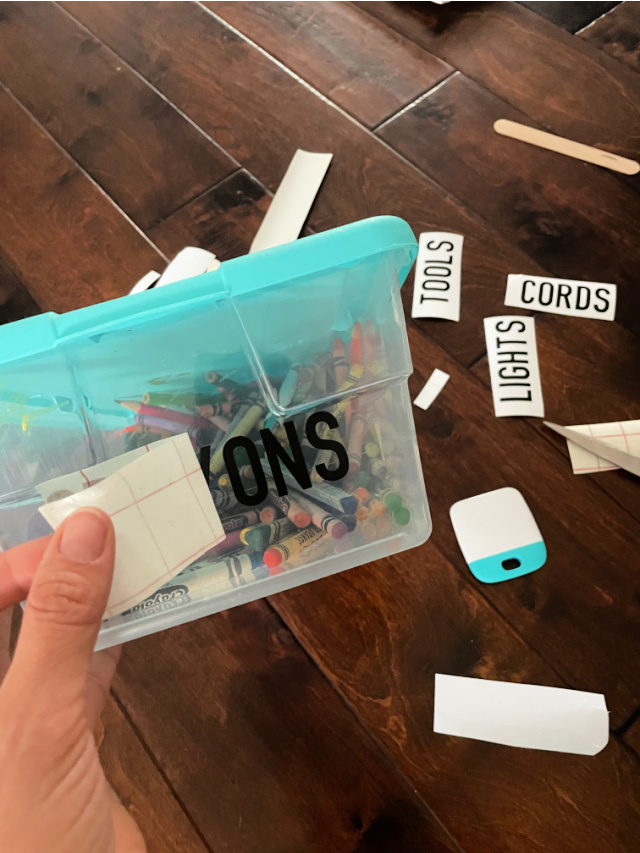
Step 8- Adhere the labels
Finally, place the transfer tape with vinyl label on the container and use the scraper tool to adhere it to the container. Then, peel the transfer tape and admire your label! For the large bins, instead of adhering the vinyl label directly to the container, I placed it on pink card stock and then attached the pink card stock to the containers with glue dots.
Our coat closet got a much needed makeover as a storage closet and I love it! The hot pink labels make me happy every time I open it.
Do you need to give your coat closet a makeover and turn it into vertical storage for all the things? Do it!
If you’re looking for more organization hacks, don’t miss these posts:

Leave A Reply!