Note: This post contains some affiliate links for your convenience. This means if you make a purchase after clicking a link I will earn a small commission but it won’t cost you a penny more!
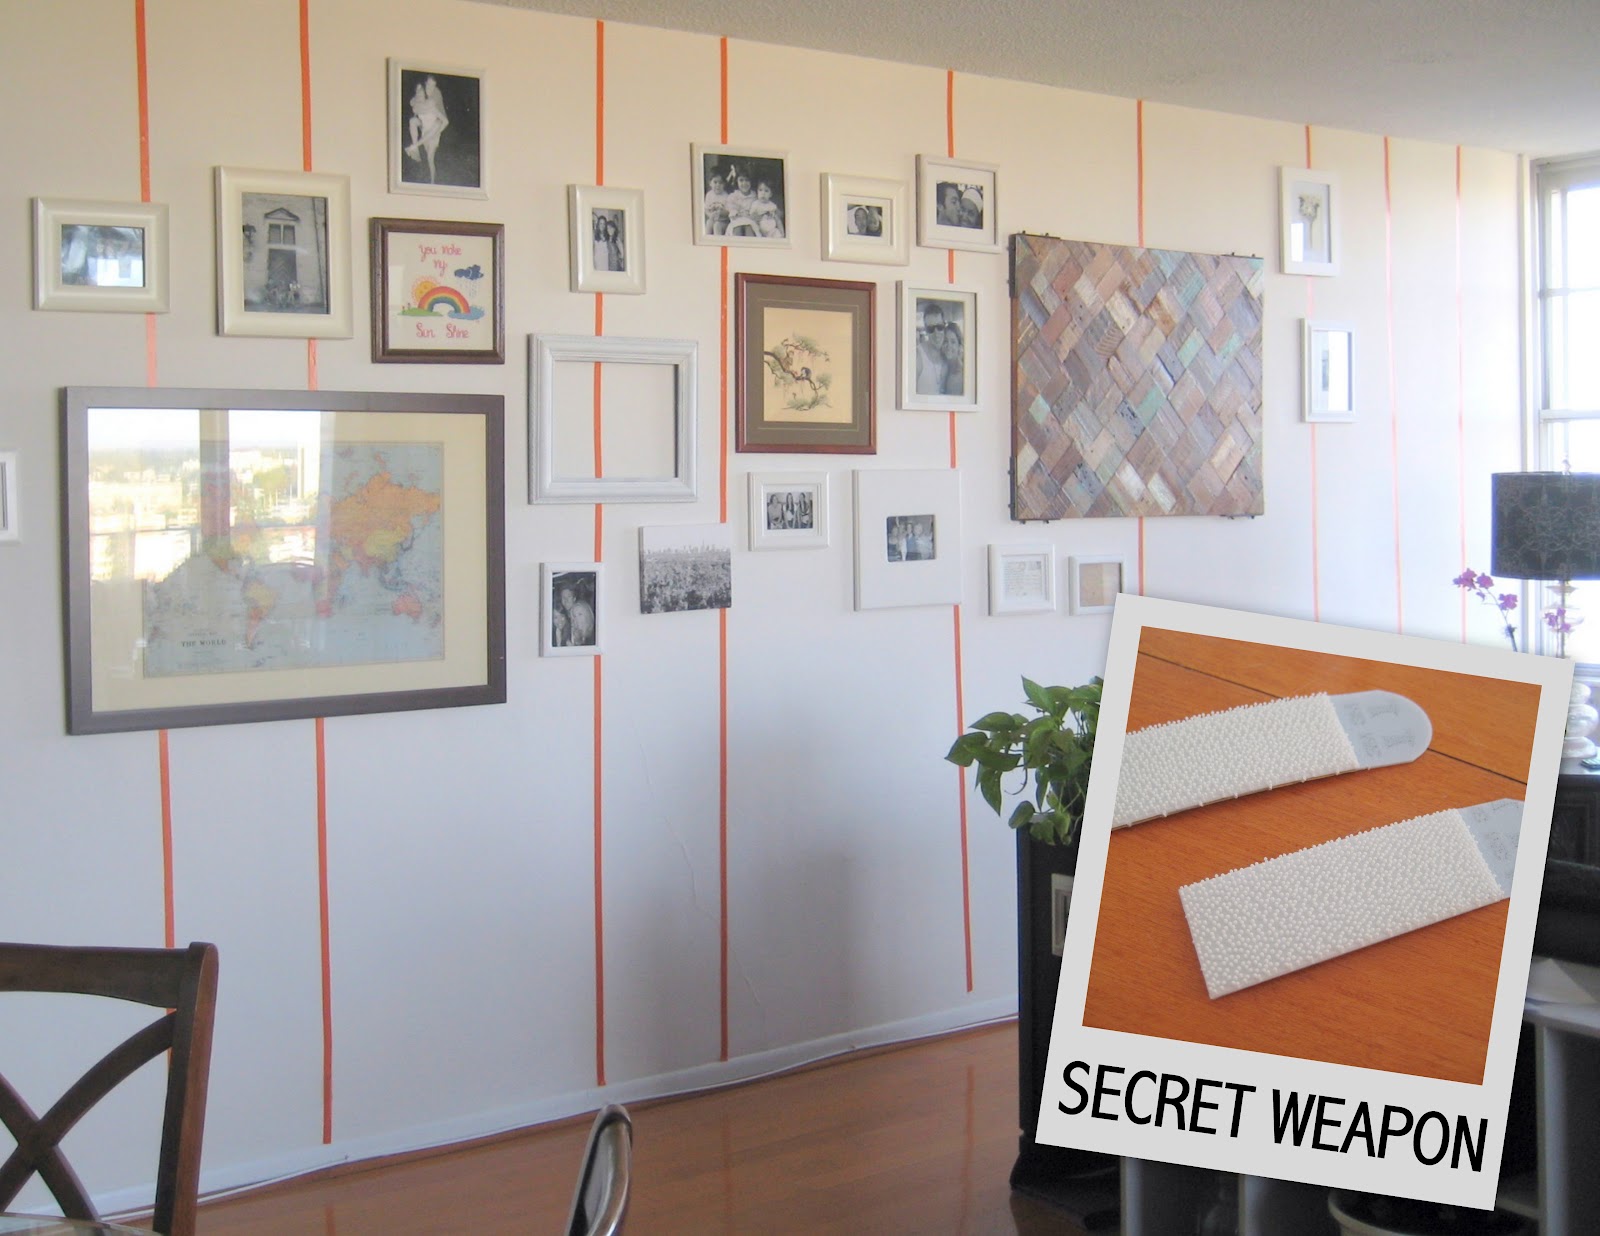
My first rental trick involved electrical tape. It’s vinyl tape that comes in lots of colors and typically used for wires. (Did you know that each color is for a specific voltage of wire?) Apparently my favorite tape color, orange, is for high voltage phase b wires 🙂
I took the tape down. I’m a little sad about it now, but I can always put it back up! I’m thinking thicker tape in a trellis pattern?
The wall currently looks like this…
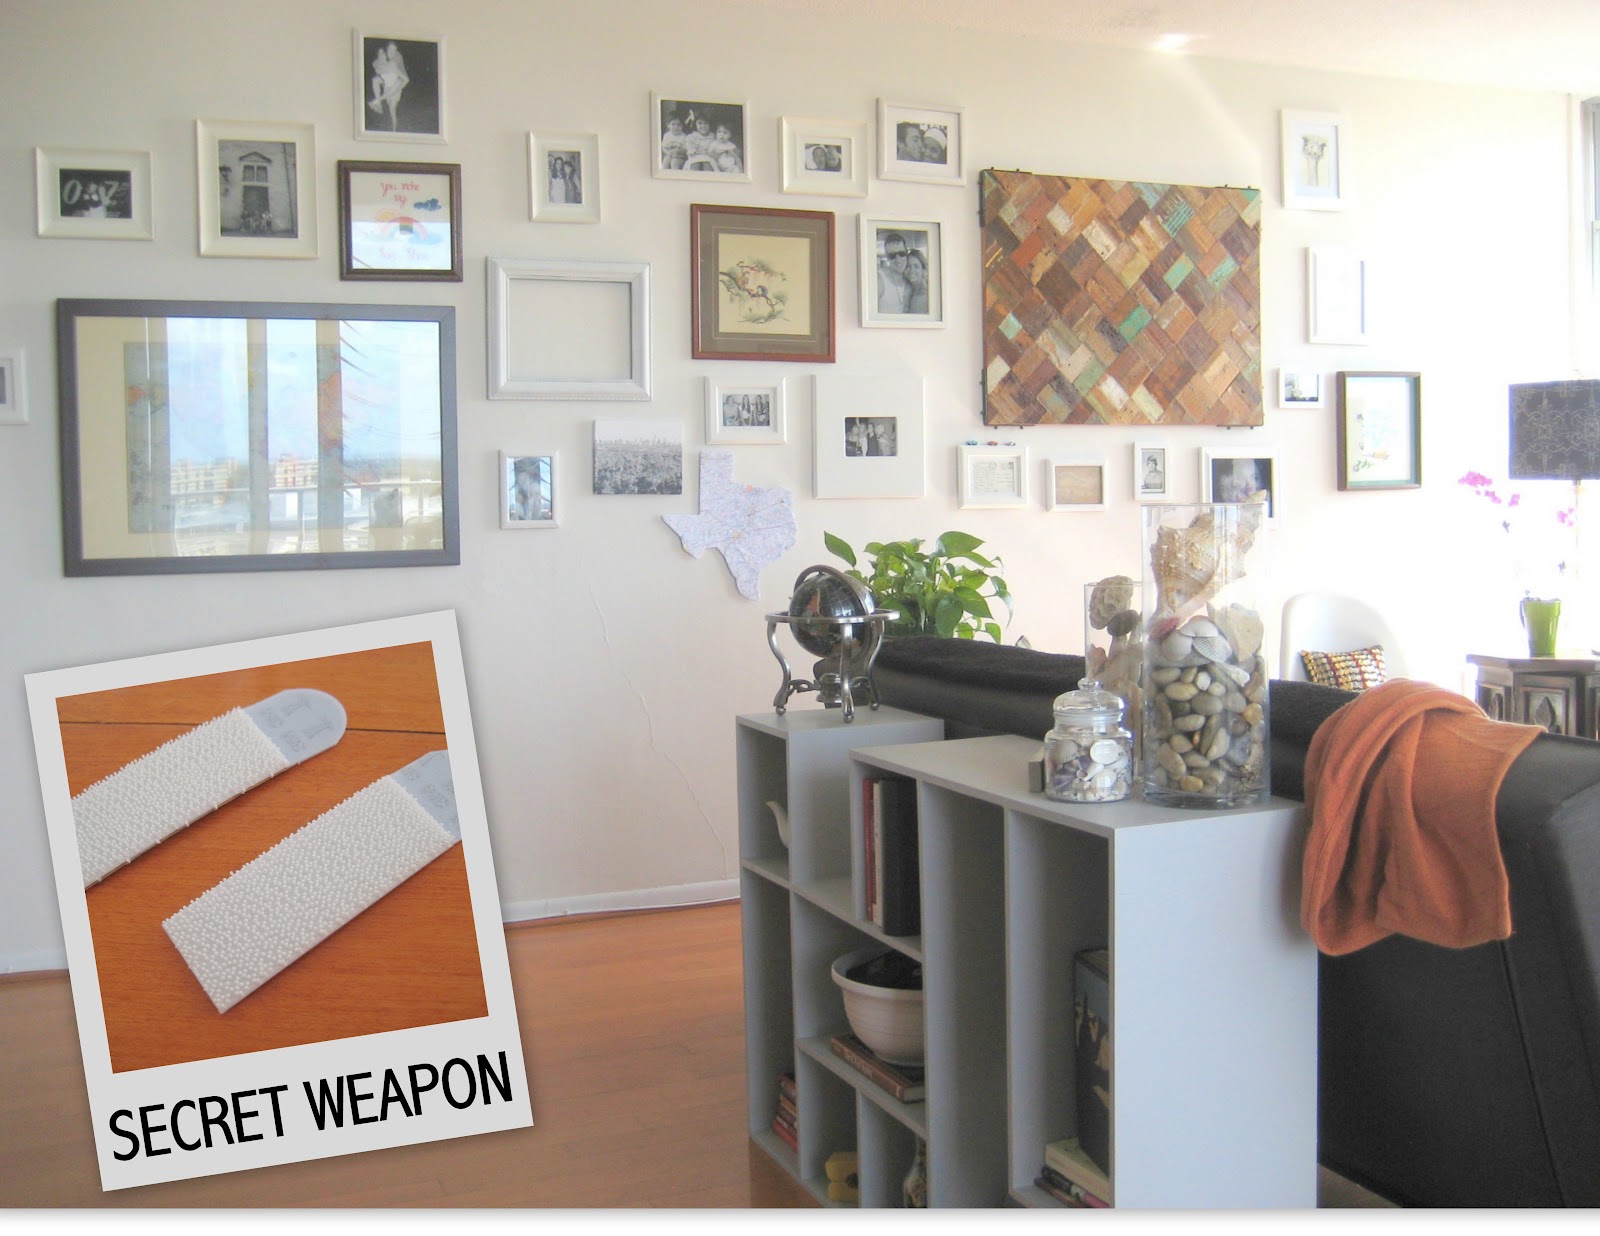
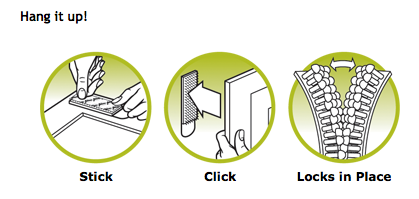
Today’s rental trick is about my new favorite secret rental weapon, 3M picture hanging strips. They are super simple to use, not ridiculously expensive, can be moved around, and best of all don’t make holes in your wall!
This is what the wall originally looked like with the stripes. When I decided to take down the stripes I had to take down a lot of pictures, all of which are hung with picture hanging strips (minus the 2 big pictures). I was able to test out the 3M picture strip re hanging ability, and it worked like a charm.
Another thing I like about the strips is the pictures don’t hang off of the wall, like they do sometimes with nails. All frames are flush against the wall.
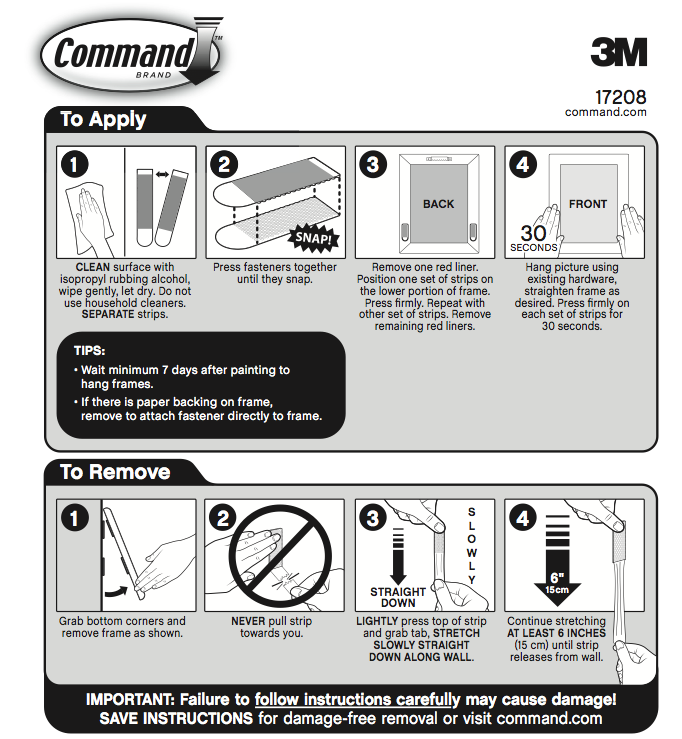
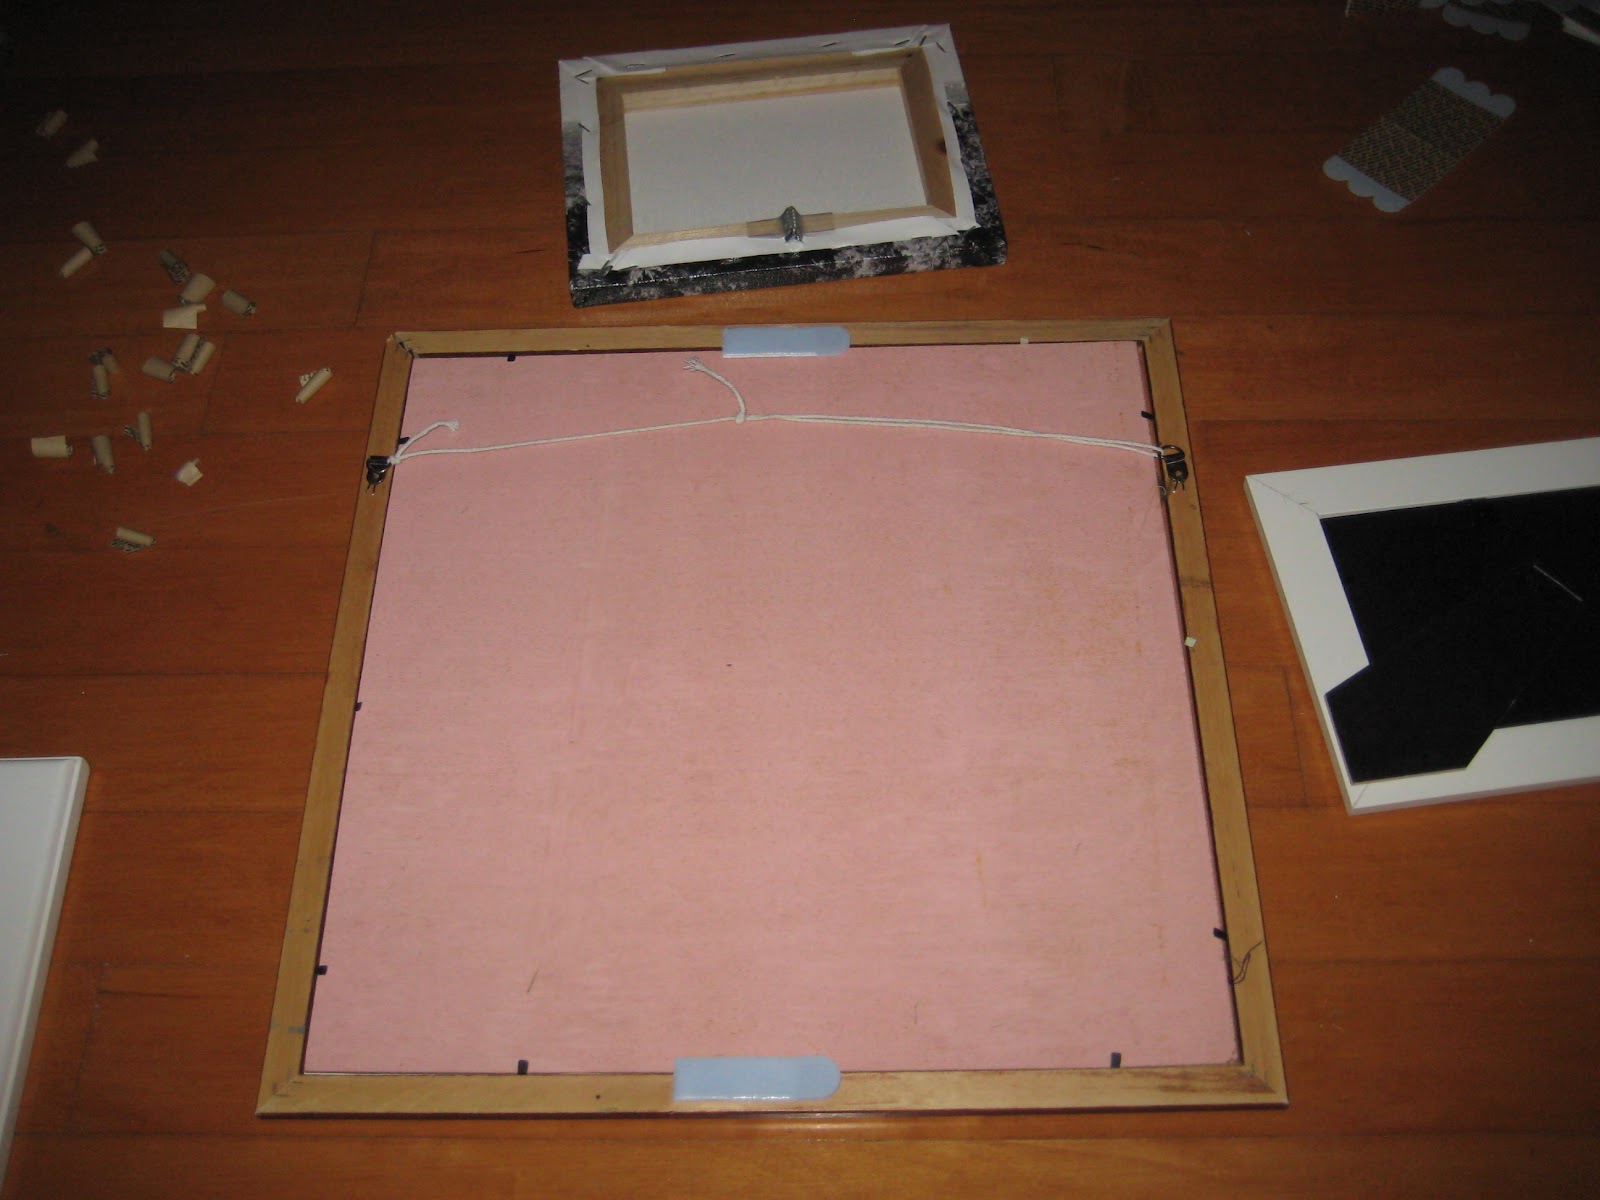
The only thing I can think to describe how they work is thick, fancy velcro. The strips literally snap in to place, when you hear the snap you know your frame is secured. I had one casualty, but it was clearly my fault for not reading the directions. In the tip section, it says “if there is paper backing on the frame remove to attach fastener directly to frame”. I failed to do that, the frame fell off of the wall, but thankfully, did not break the glass! I did what I was told, and the frame is happily hanging on the wall.
You can buy them lots of places like Target, Wal Mart, Home Depot, and Lowes. Or you can buy the 3M picture hanging strips![]() on Amazon, like I do! I just read a review about a lady actually cuts the strips in half length wise. I can’t believe I did not think of that myself! That way you get double strip for your dollar. Genius, at least for smaller, lighter frames.)
on Amazon, like I do! I just read a review about a lady actually cuts the strips in half length wise. I can’t believe I did not think of that myself! That way you get double strip for your dollar. Genius, at least for smaller, lighter frames.)

Have you ever used picture hanging strips? And be honest, do you like the wall better with stripes or sans stripes?

Comments & Reviews
I am just getting started with these strips and so far so good! What did you use to hang the large frames while renting? I have a large one at the moment and wonder if I should just use multiple sets of strips?
Thanks for your help 🙂
Be careful with what electrical tape you use on walls. Cheap electrical tape adhesive is prone to becoming gummy, so when you take it off (which I assume you’d eventually do in a rental, when you leave) it will leave a stripe on the wall that is the same color as the tape.
I run into this because I’m an electronics nerd, but I also now pretty much only buy 3M electrical tape. It’s more expensive, but if I have to take it back off of something, it’s worthwhile to not have to wipe everything down with alcohol afterwards.
I, too, am a renter and I was super excited to fid the 3M strips and quickly put them to work.
However, when I wanted to remove a strip, I honestly did as the instructions said but paint STILL came off with the strip! So my advice is to be very very VERY careful when removing. I may try to steam them a bit before I take any further strips off the wall.
They do work great, though and I still have several pieces of art hung with them.
Thanks for the tips! Love your blog!
I miss my stripes. I think I'm bringing them back!!
It's a reclaimed wood piece… I bought it from the Grandin Road catalogue a few years ago! I'll show a close up soon!
What is the large wall art on the right hand side of the above picture? I love it and would love to see a close up view of it.
I just discovered 3M strips too! I LOVE them, so great. I think I prefer the wall without stripes, to be honest. Shows off all the lovely artwork better!
I love those strips! I used them over Christmas to help me hang a bunch of stuff I didn't want to make permanent.
Congrats on the nomination over at Apartment Therapy btw. I voted for ya!
Stripes!! Stripes for sure! I actually LOVED the yellow orange and gray together, it was colorful and fun but in a subtle way since the stripes were thin and the background was white. I actually pinned that picture for later reference. 🙂
The wall looks great! While I like the stripes, I think it looks cleaner without them. I have been debating trying these strips for a while. Thanks for the review!
~Kate
crafty-kate.blogspot.com
Such a clever idea. I am definitely going to have to steal this one. I think it would even work in a home [where you can ultimately make as many holes as you want]. If you are like me or anyone that loves to re-decorate, it would be a great trick and limit the patching and repainting that has to be done. So thanks. I can't wait to use your idea!