After watching a documentary about volcanoes, Maxwell is officially obsessed. He keeps asking if we can make an erupting (or interrupting as Maxwell says) volcano. I figured we could use the tried and true baking soda and vinegar reaction for the eruption, but I wasn’t prepared to make a paper mache volcano. After a quick Pinterest search, I saw these cute erupting pumpkin volcanos from The Resourceful Mama and decided to try the same thing in other types of fruit. So, the fruit volcano experiment was born!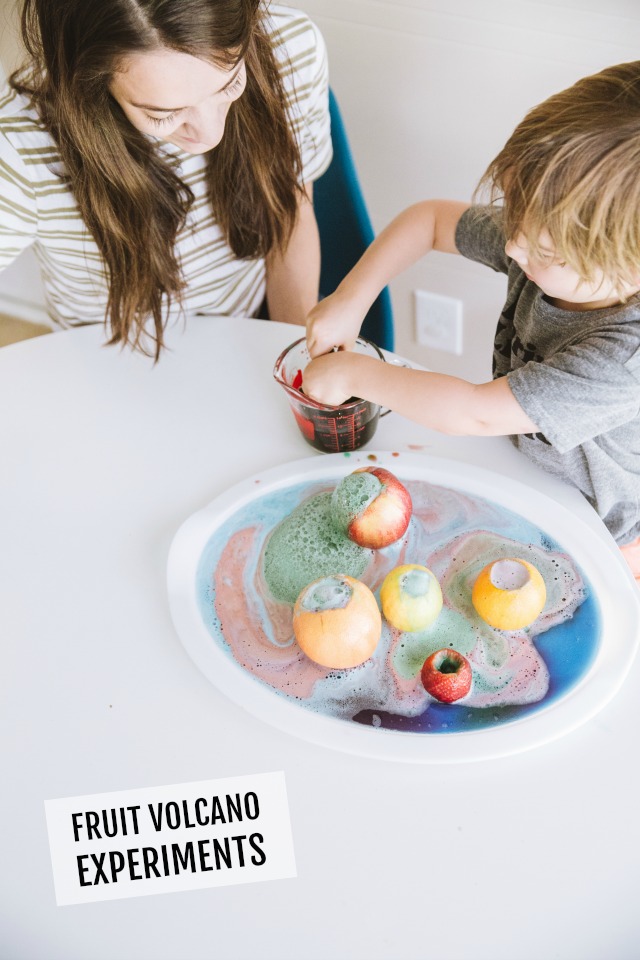
Materials
- Fruit – Apple, orange, grapefruit, strawberry, lemon
- Baking soda
- Vinegar
- Measuring spoon
- Food coloring
- Syringe – optional, but fun!
- Dish soap – optional
- Tray or baking sheet – to hold the eruptions
Fruit volcano experiment
Let me start with there is no wrong way to do this fruit volcano experiment! As long as your fruit as some kind of a hole in the top to pour vinegar and baking soda inside, it’s going to be awesome. Also, I am using the word experiment loosely. Maxwell and I did talk about making predictions and discussed which fruit we thought would make the biggest reaction. But, for the most part, he just poured stuff into fruit and loved every second.
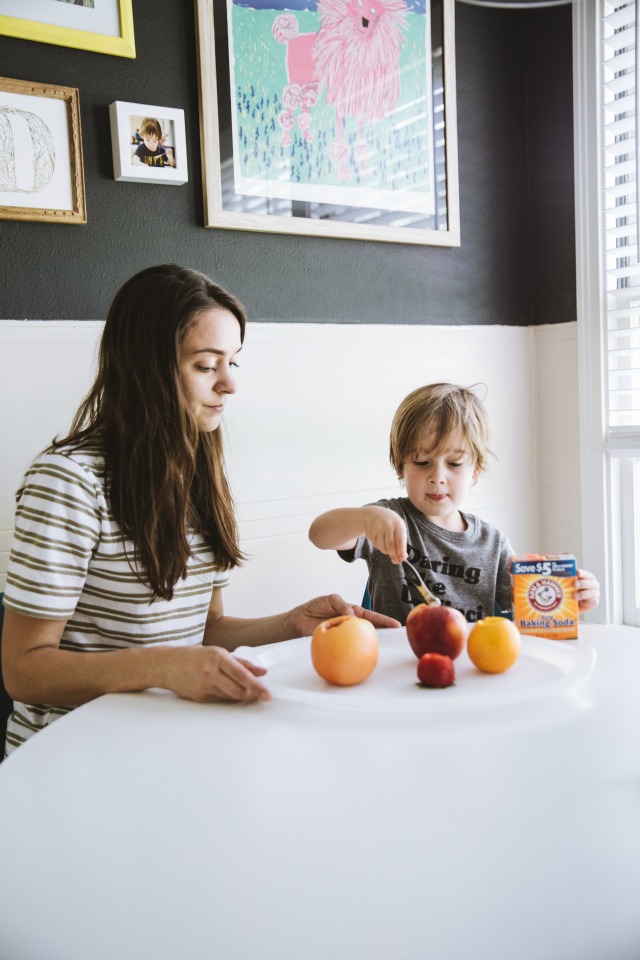
Step 1 – Prepare the fruit
I cut a hole in the center of each piece of fruit. Some holes where bigger than others. All of the fruit erupted perfectly.
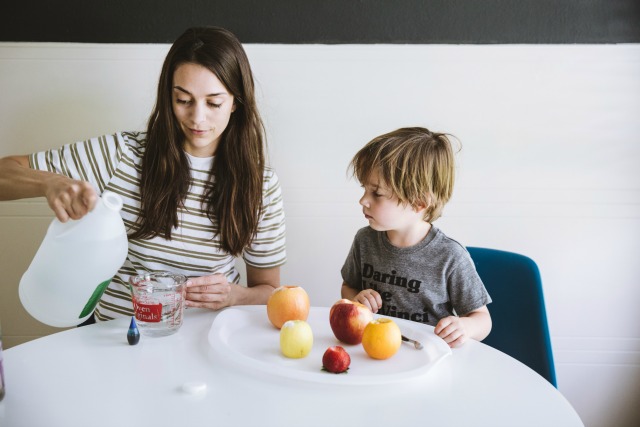
 Step 2 – Pour Vinegar
 Step 2 – Pour Vinegar
I bought a giant container of vinegar (128 oz) so I decided to pour the vinegar into a more manageable container for Maxwell to handle by himself. We also added food coloring to the vinegar.
Step 3 – Add dish soap
The dish soap was part of our experiment, so we only added it to a few pieces of fruit. It definitely makes the eruption bigger, but it is not necessary.
Step 4 – Add baking soda
If you added dish soap, next add baking soda and mix it together. If you skip the dish soap, just add 1 tbs of baking soda to the hole you made in the fruit. By the end or the experiment, I have no idea how much baking soda we used. We probably did 85 eruptions!
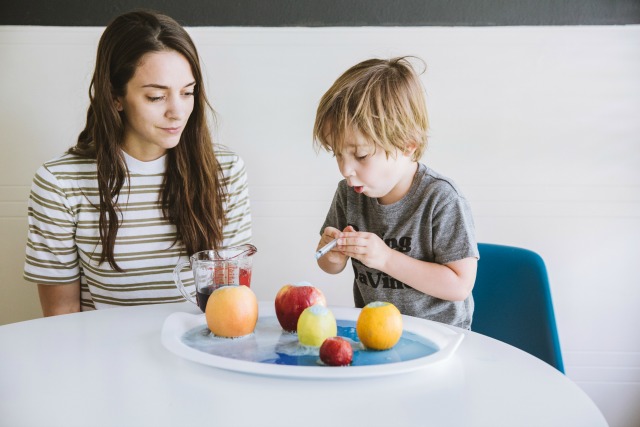
Step 5 – Add vinegar
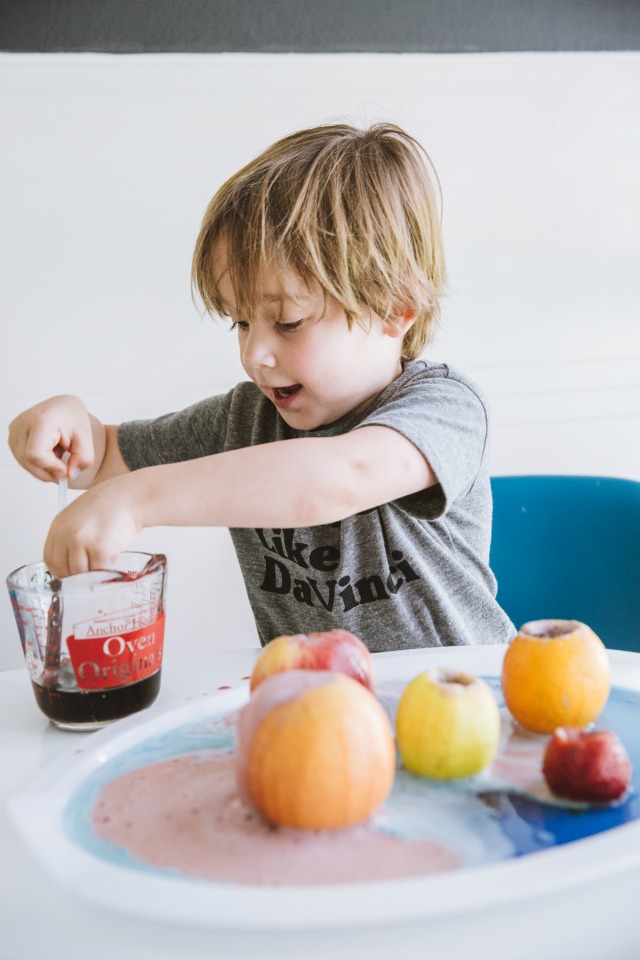
Now it’s time for the fun part! Maxwell loved using the syringe to squirt the colored vinegar into each fruit and watch the backing soda and vinegar reaction. He seriously loved it. Look at that face!
Step 6 – Make more colored vinegar
After we used up all of the blue vinegar, we made some red vinegar and continued with the shenanigans. We ended up making green vinegar too. It was interesting to me that the colors stayed separated after we continued to mix them.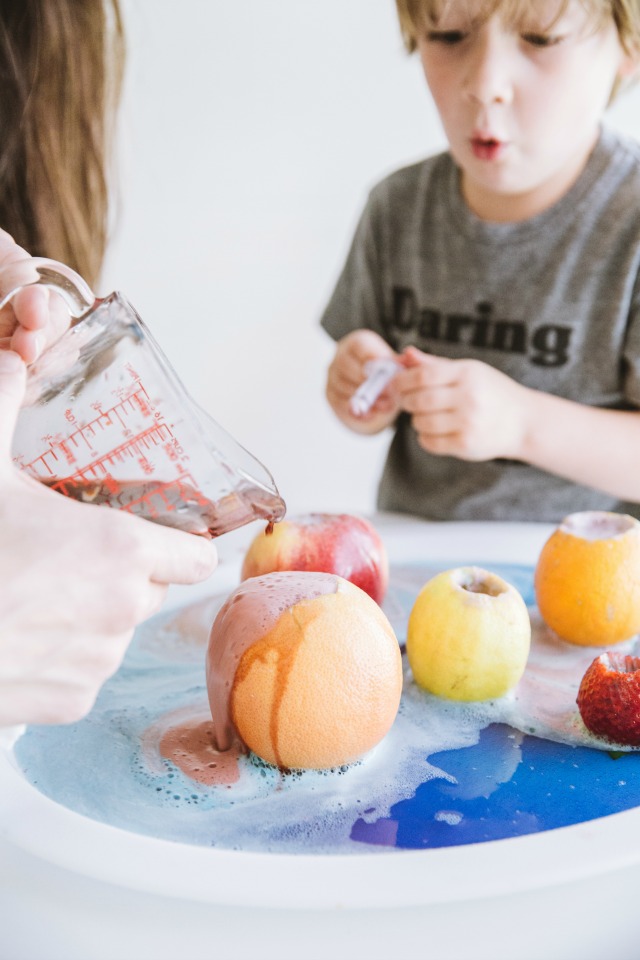
Baking soda and vinegar reaction explained
The simplest answer is – it’s a chemical reaction! Vinegar (CH3COOH) is an acid and baking soda (NaHCO3) is a base and when the combine they make an entirely new substance. One of the products this reaction creates is carbon dioxide, which is why you see the bubbles. Here is a great resource with five answers to the question why do baking soda and vinegar react.
I hope your kids love this crafty experiment as much as Maxwell! I’m happy I bought the giant jug of vinegar so we can do this all summer long!

Comments & Reviews
How much baking soda, vinegar, and food coloring did you put in each fruit?
“It was interesting to me that the colors stayed seperated after the ” . . .
Did I miss the end of this sentence somewhere? Looks like you had lots of fun!