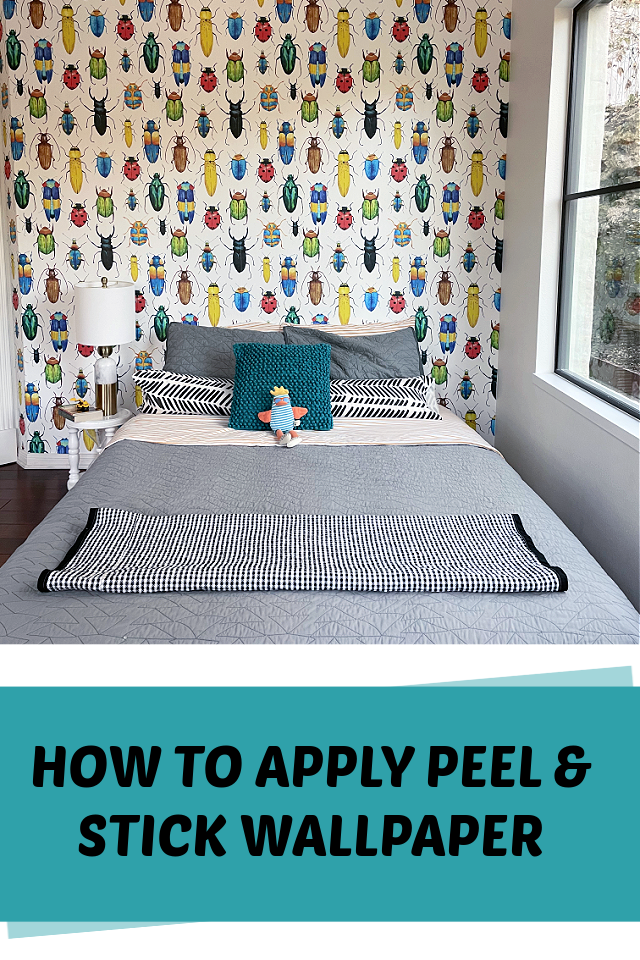
Thinking about adding removable wallpaper, but scared of installing? Don’t be! Have lightly textured walls and don’t think it will work? It will! I hung Walls Need Love wallpaper in both of my kids bedrooms. Wallpaper makes such an impact with minimal effort. Best part? When he’s tired of bugs in a few years, the paper peels right off and leaves walls as clean as the day it was installed! Here’s my guide for how to how to apply wallpaper in 2 hours or less.
Note: I was gifted wallpaper in exchange for writing a hot to tutorial for peel and stick wallpaper.
Here’s what you need to hang wallpaper
- Peel and stick wall paper
- Metal straight edge
- Razor blade that comes with the wallpaper (or X-Acto knife)
- Scissors
- Felt-tipped squeegee (This also comes with the Walls Need Love package.)
- Screwdriver
- Ruler
- Step ladder
Can you apply peel and stick wallpaper to textured walls?
You can apply peel and stick wallpaper to lightly textured walls. The wallpaper company does not recommend it, but my walls are lightly textured and it worked just fine. The wallpaper has been up for 3 months without any problems.
How to apply wallpaper
I am applying peel and stick wallpaper, not traditional wallpaper. Traditional wall paper typically uses an adhesive that needs to be soaked or pasted onto the wall before the paper is applied. The wallpaper I am applying requires no soaking or pasting, it has a self adhesive backing.
Step 1- Remove switches
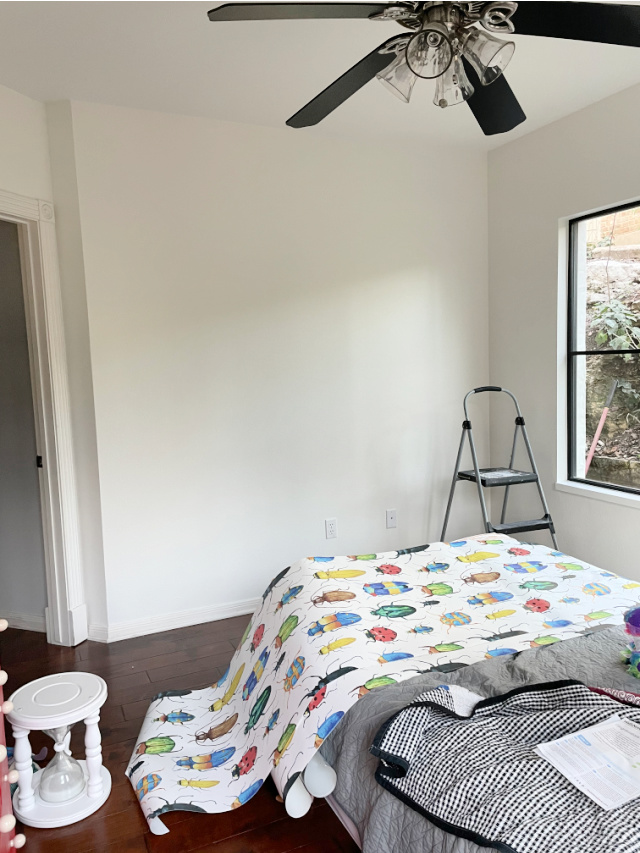
Use a screwdriver to remove all switches and plates on the wall. You can see below that I had not removed the two switches on the wall yet.
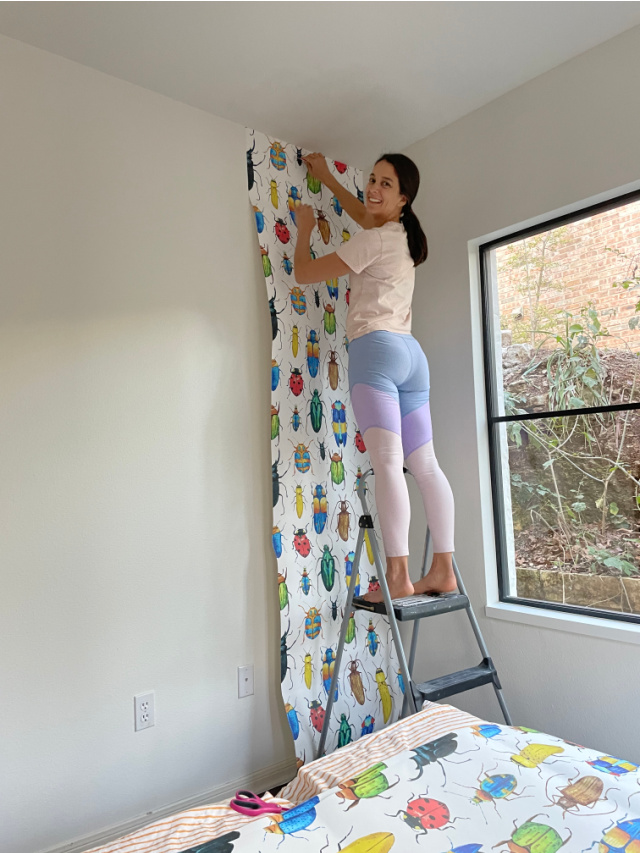
Step 2- Apply first piece
I like to start at the top of the wall and in a corner. I love that Walls Need Love wallpaper is delivered in strips. I’ve applied peel and stick wallpaper that comes on a roll and it makes it harder to match up the pattern and control the wall paper. For my son’s room, I was working with 4 large pieces of wallpaper. Peel off 12 inches of the backing and adhere to the top of the wall. Once the first 12 inches is stuck, continue peeling down the back of the wall paper and securing it to the wall with the felt-tipped squeegee.
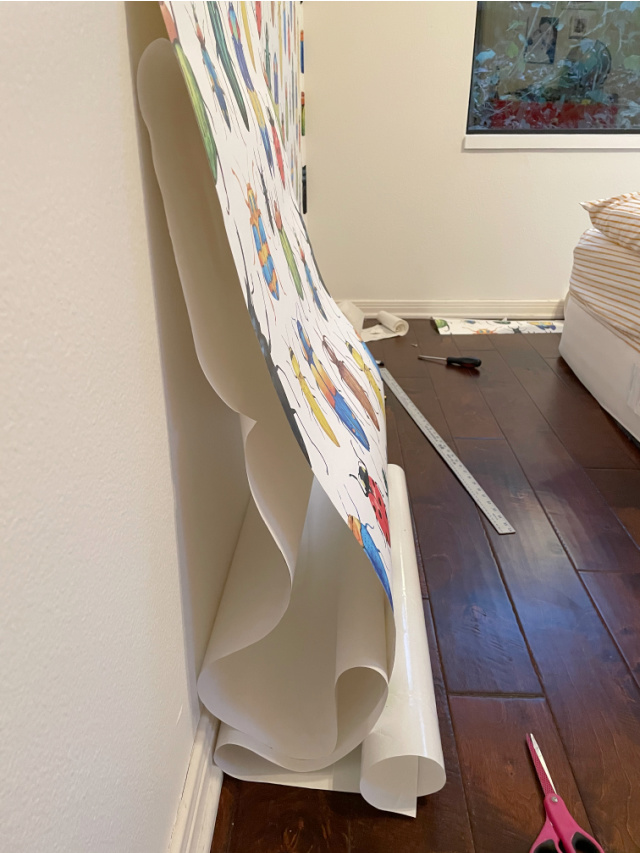
Step 3- Continue the next strip
Continue the process of peeling the back of the wall paper and adhering it to the wall with the felt tip squeegee. I cut the backing as I went, so it didn’t get bunched up at the bottom. For reference, in the picture below, the backing has not been cut. Also, don’t forget to overlap the wallpaper pieces by a few centimeters.
Step 4- Trim outlets and edges
Once all of the panels of wallpaper are laid, it is time to go back and cut out the outlets. I used a razor blade to cut a small rectangle around each outlet on the wall. It does not have the be perfect since you will put the plate back on and cover up the edge of the wall paper. Next, use the straight edge and the razor blade to trim the sides of the wallpaper.
Step 5- Admire your work
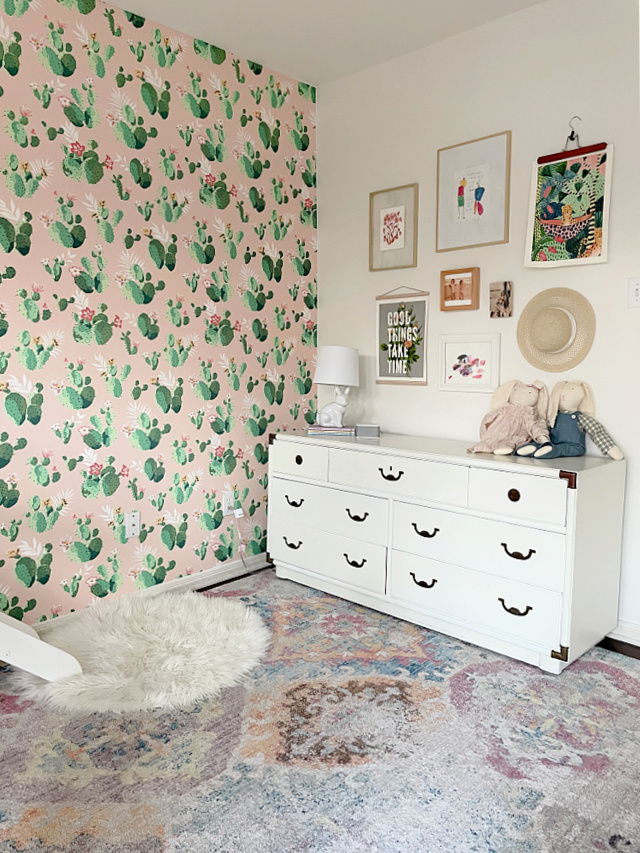
Finally, step back and admire your work! This is the cute cactus wallpaper we hung in my daughters room. See more of my daughters wallpaper installation here.
Cute wallpapers for girls and boys rooms
I picked out three cute wallpapers for my kids room, and then let each child choose the final wall paper for her room. These were the wallpapers they had to choose from:
Have you ever hung peel and stick wallpaper? It’s way easier than you think!

Leave A Reply!