Amy from My Name Is Snickerdoodle is a local Austin blogger! I’m excited to have her contributing a fun creative kid’s food ideas monthly on C.R.A.F.T.! I need all the help I can get when it comes to the kitchen. I ‘m a sucker (pun intended) for Jolly Ranchers, and especially love that these could be wrapped up and handed out to neighbors for a last minute holiday treat. Or just a fun activity to do while the kids are home on winter break. Explore the flavor possibilities!
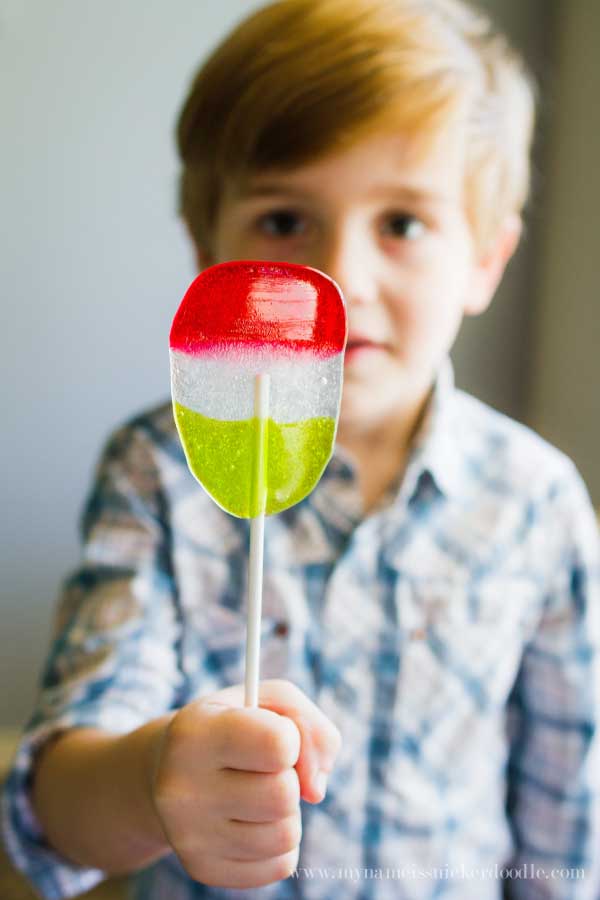
Hello! I’m Amy from My Name Is Snickerdoodle and I am thrilled to be sharing this fun kid treat with you! A few summers ago I made these Easy Stripey Suckers with my little boys and they loved them. They’re made out of Jolly Ranchers and could not be easier to make. We made extra to give out to friends when they came over to swim. It’s now become a summer tradition we all look forward to. A few weeks ago, I was pining for summer ideas and these suckers popped into my head. Then it clicked with me that we could make them using green, white and red Jolly Ranchers. Green Apple and Cherry come in the classic flavored bag. I found Pineapple flavored ones in their new Tropical mix.
Here’s what you need:
- Red, Green and White Jolly Ranchers, unwrapped
- Sucker Sticks
- Parchment Paper
- Large Baking Sheet
Start by preheating your oven to 325 degrees. Line the baking sheet with parchment paper. Place 3 unwrapped Jolly Ranchers together for each sucker. Place them far apart from each sucker because they will spread when melted. This step is great for the kids to help!

Bake for about 2-3 minutes then rotate the baking sheet. Bake for another1-2 minutes until the candy is melted and spread out some. The baking time determines the shape of the sucker. These will be irregular in shape, but the kids are going to love it!
Remove from the oven and immediately place a sucker stick into the middle of the sucker and gently roll it in the hot candy so it becomes completely coated. This will ensure that it will stick to the sucker. Because the candy (and pan) will be extremely hot, this is best if an adult do this step.
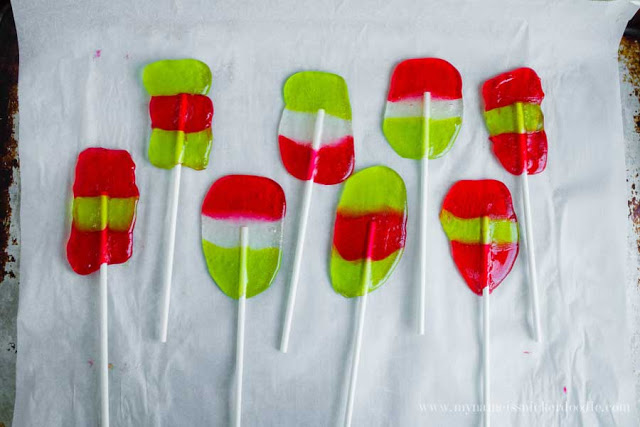
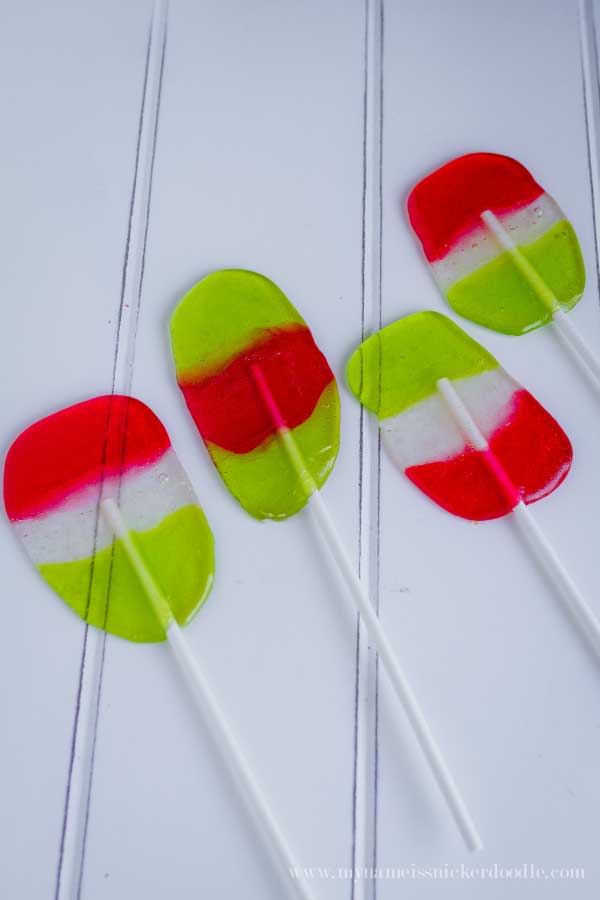
Let them cool on the parchment paper for 15-20 minutes until completely cooled. Then, enjoy!
Here are some other fun holiday activities to do with the family! For more from Christmas crafts from Amy & Jamie, don’t miss:

Comments & Reviews
Love these.. they look easy also. Thanks for showing how to make these pops. Featured at the new party tonight and pinned. Have a great weekend. Linda @Crafts al amode
Those are adorable!! I have them on my list of “to make one day!” 🙂 Thank you for sharing with us at the #HomeMattersParty
What a fun project! When I lived in Colorado, I lived a mile or two from the Jolly Rancher factory and when the wind was just right we could smell the candy cooking!
Thanks for sharing with us at Throwback Thursday!
Mollie
That looks like fun! White kind of candies are Jolly Rogers? They don’t sell them here (at least not under that name) and it would be great to find that works for those. Something to do on rainy days. 🙂
This is an absolute great idea! So easy and they look fantastic 😀