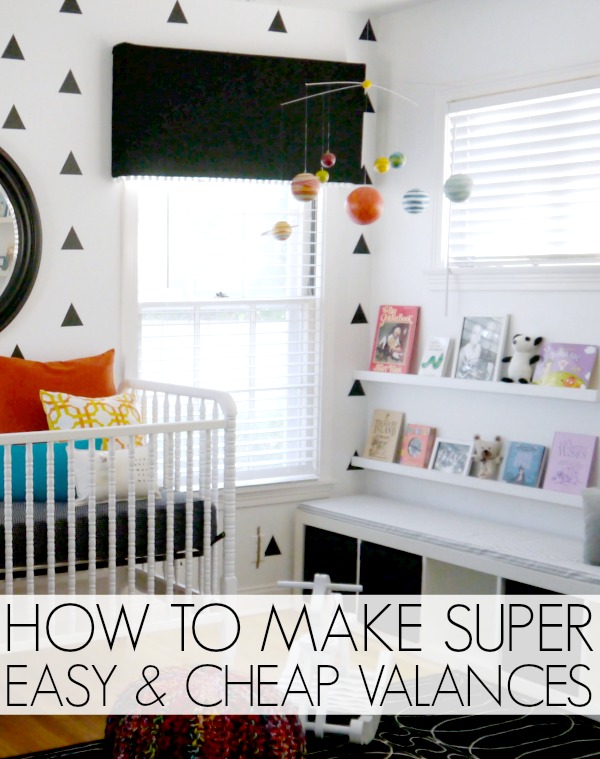
So, I already told y’all we did these valences in the nursery, I just hadn’t gotten around to writing up the post about how to make these ridiculously easy valances! Seriously, these are so easy and cheap you’re gonna wanna make them for all of your bare naked windows. My mom originally found the idea on Pinterest, and I looked one up when we started and came across this great tutorial from my real life friend, Diane, over at In My Own Style! (I hung out with her in Martha’s office this summer, true!) We ended up doing ours a little differently, like no batting and we stapled instead of pinned, but it’s always handy to see how others do similar projects!
Here’s what you need to make valances
- Sharp kitchen knife
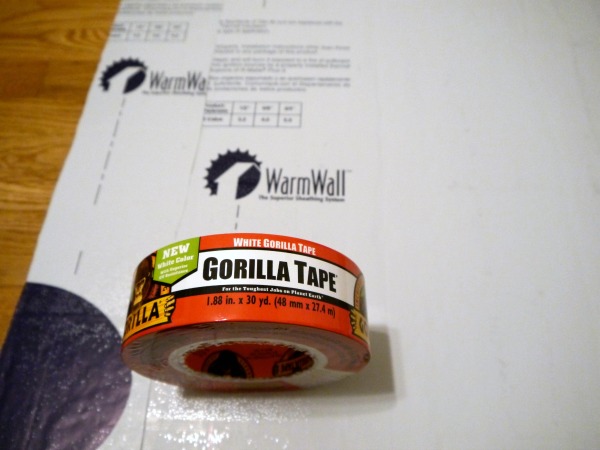
- One board of 1in. insulation (It typically comes in 4×8 sheets and costs about $15 a board.)
- Felt
- Staple gun
- Scissors
- Yard stick
- Sharpie
- Gorilla Tape
- White pom pom trim
- Straight pins
Any brand of insulation will work, this is what I used:
How to make easy valances
Step 1- Measure and cut the insulation
First, measure exactly how big you want your valance. We decided to make ours about 3 inch wider than the molding on both sides and it’s 19 inches long. You will end up with 4 pieces of insulation per valance.
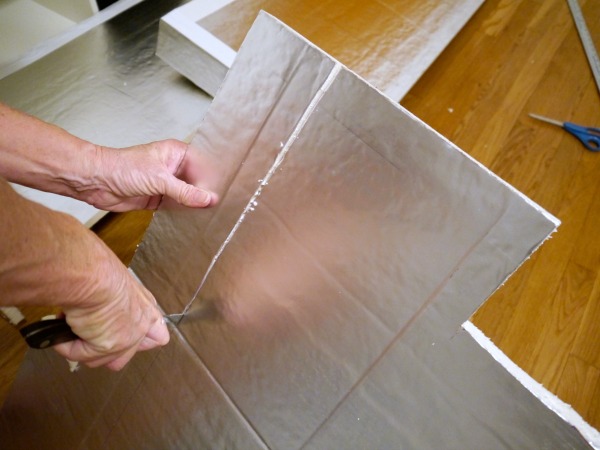
Step 2- Cut all 4 sides
You can easily cut the pieces to be any size you need. Just be mindful that it’s like putting together a puzzle! Make sure and think about how the pieces are being put together. And since the insulation is an inch think, you need to keep that measurement in mind when making the 3 side pieces. Here’s my mold…
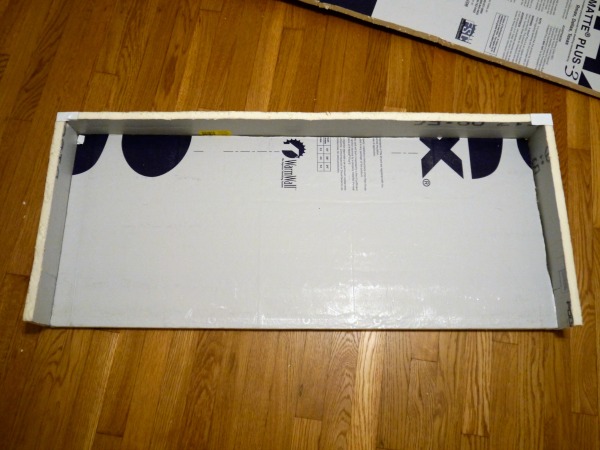
Step 3- Tape the sides together
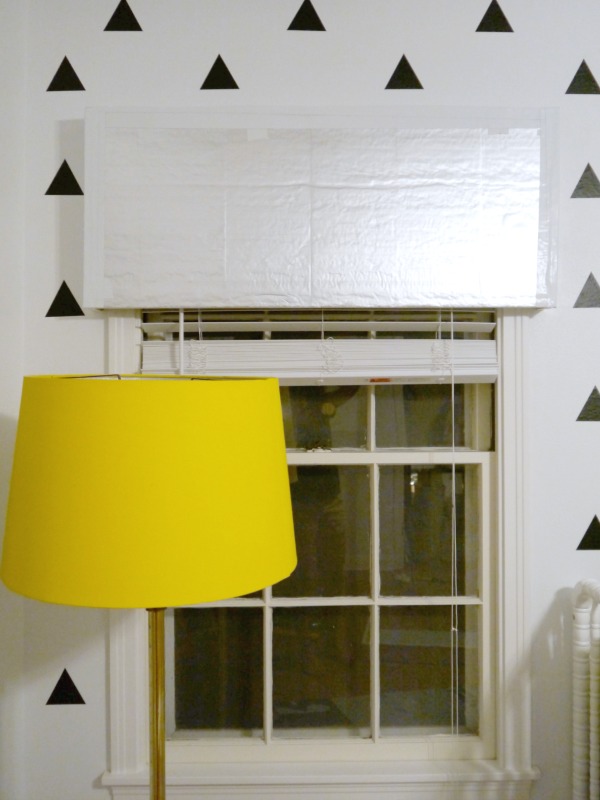
After you get the pieces cut out, use Gorilla tape liberally and tape those suckers together. I just propped the frame on the molding to test it out… fancy, huh?!
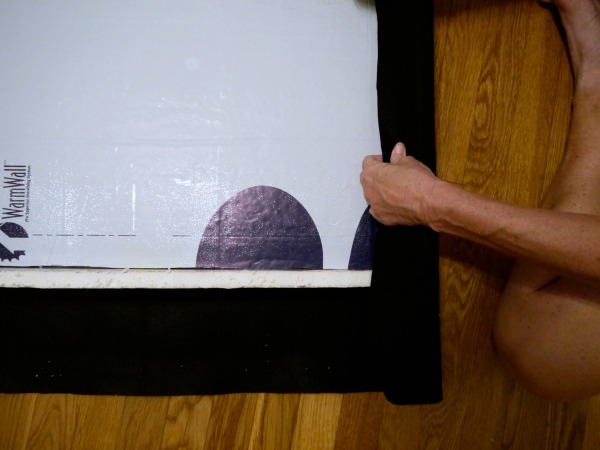
Step 4- Cover valance frames in felt
We used black felt to cover the insulation frames. We eyeballed and cut out a piece that would wrap around the entire frame and then stapled with a staple gun.
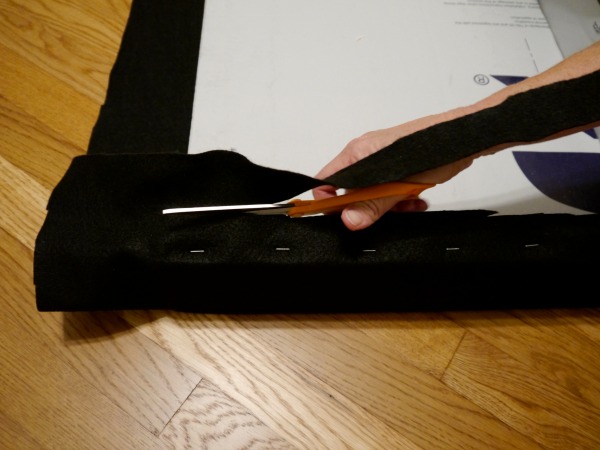
Step 5- Cut off excess felt
We cut off the extra felt with fabric scissors and voila!
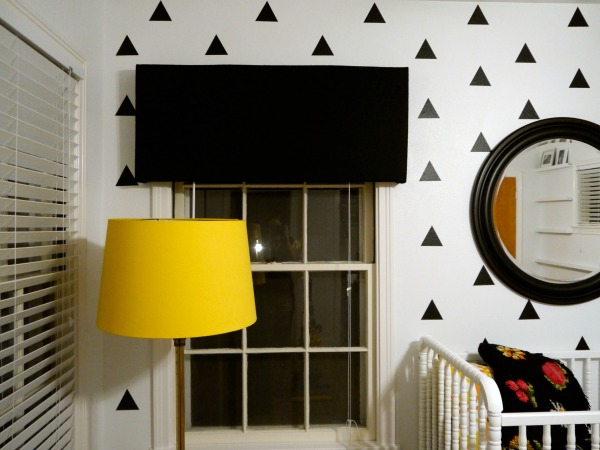
Here’s a felted valance modeling on the window…I love it! I like the yellow shade in there too, stole that from the living room! I don’t think it gets to live there for real.
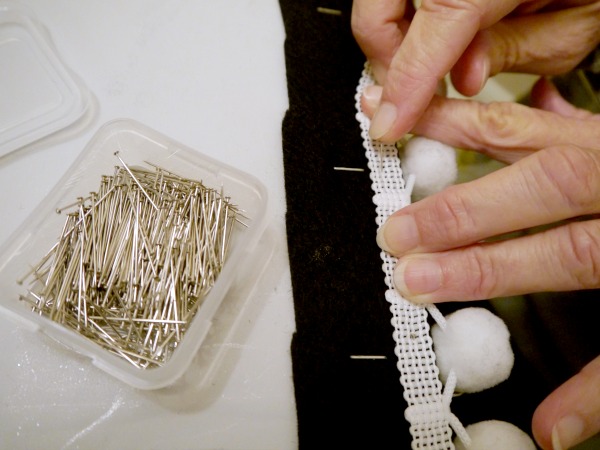
Step 6- Add pom pom trim with pins
Mom and I fought about what trim should go on the valances. I wanted pom pom’s and she wanted ric rac. I won, ha! We just pinned on the pom pom’s with straight pins… easy! That way if I ever get tired of it, just un pin and try again!
And here is a little before and after action. The valances make a huge impact for just a little bacon!

Step 7- Hang
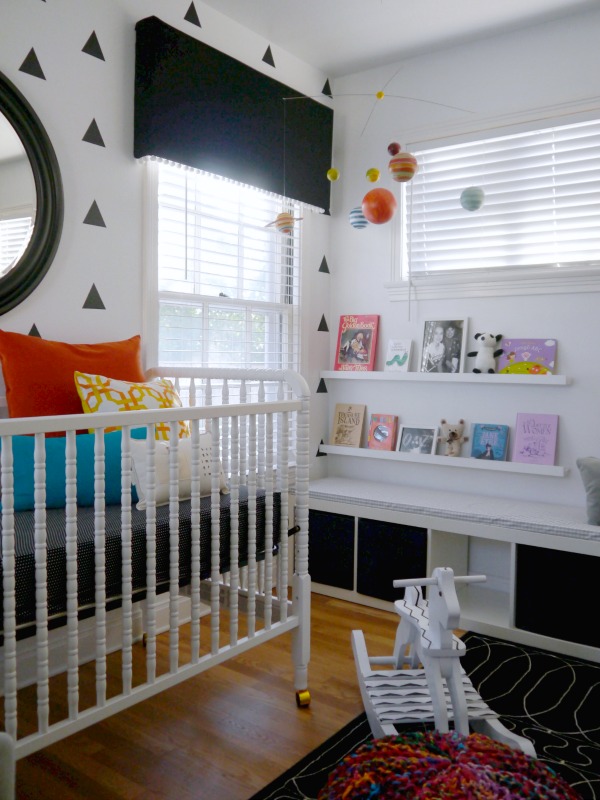
Since the valances are light weight, we hung them with 3- 1 inch long nails. They are so light, they really just need a place to rest! Now, I can’t say these valances are too functional as far as blocking light, but they do look pretty dang cute! I love how it really allows the mobile to stand out! Andy built the book ledge shelves too, here’s the tutorial for those!
And here’s a good ol’ before and after:
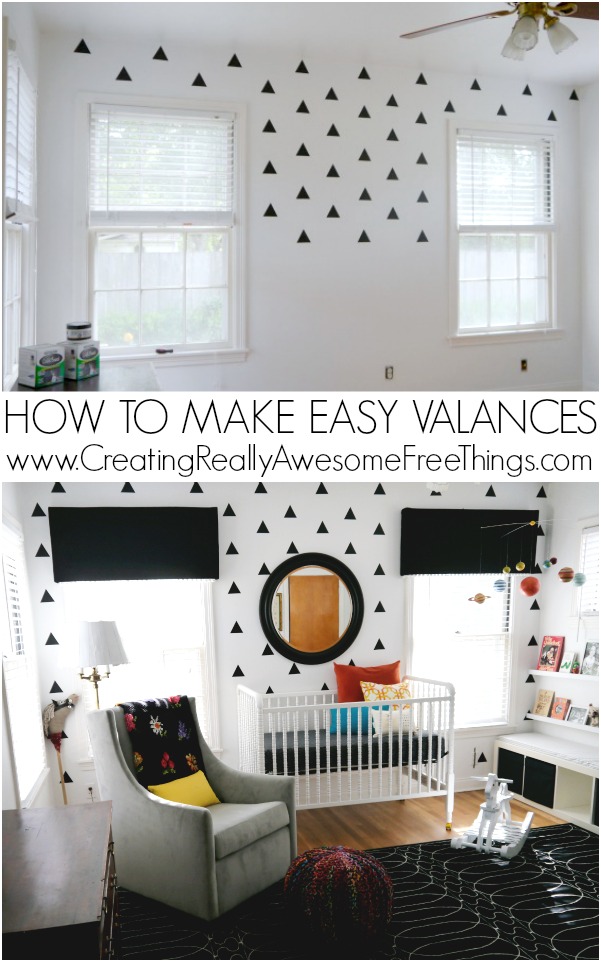
Makes a big difference, huh? Have you ever made valances? They are SEW much easier than sewing curtains, ha!

Comments & Reviews
I love the valance and the pop of yellow color, this was wonderful to share on the Oh My Heartsie Girls Friday Features this week, thank you! Pinned
Hope you have a wonderful weekend!
What a cool idea! My daughter is looking for ways to decorate her dorm room, I’m going to pass this on to her!
I’ve made several of these and used foam board from the craft store , about $5.00 a sheet. That’s even a greater savings and it works as well.
You are an amazing genius! I can not believe you figured out how to make these! You just saved me hours of trolling Pinterest trying to figure out how to spruce up the windows in our playroom! Thank you!
I love this! Such an easy way to dress up a boring window. And, I love the price! 😉 Featuring these tomorrow at Motivational Monday! 🙂
What a fantastic idea!!
I have been drooling over this room every update you show. It is perfect.
Aww thanks! Glad you like it 🙂
Love the room! Can I ask where you got the little black triangles for the wall? Did you make them?
I did not make them! I ordered them from a company called Urban Walls! Super easy to use 🙂
So creative!
The valances look great and the whole space is looking amazing! Your sweet little boy is gonna love his new digs. 🙂
I LOVVVVEEEE it! Gorilla tape?….I never knew of such a thing!
haha! Any tape would probably work, I just happen to have Gorrila on hand 🙂 It’s SUPER sticky!