I’m proud to say I whipped up my first ever Christmas wreath and my first “D” project since I changed my name to Dororbek on 2-22-2012. Ready to learn how to make a Christmas ornament wreath? And don’t miss these if you’re interested in our DIY living room wedding or how to change your last name (or should you?).
Here’s my Pinterest inspiration for the monogram ornament wreath… The “H” is from Flikr.

Materials needed for an ornament ball wreath
- Shatterproof Christmas ornaments
- Foam board (or cardboard spray painted white)
- Cardboard box cutter
- Hot glue gun
- Red sparkle styrofoam balls (vase filler)
- Straight edge
- Cutting board
- 3M picture hanging strip to hang the wreath

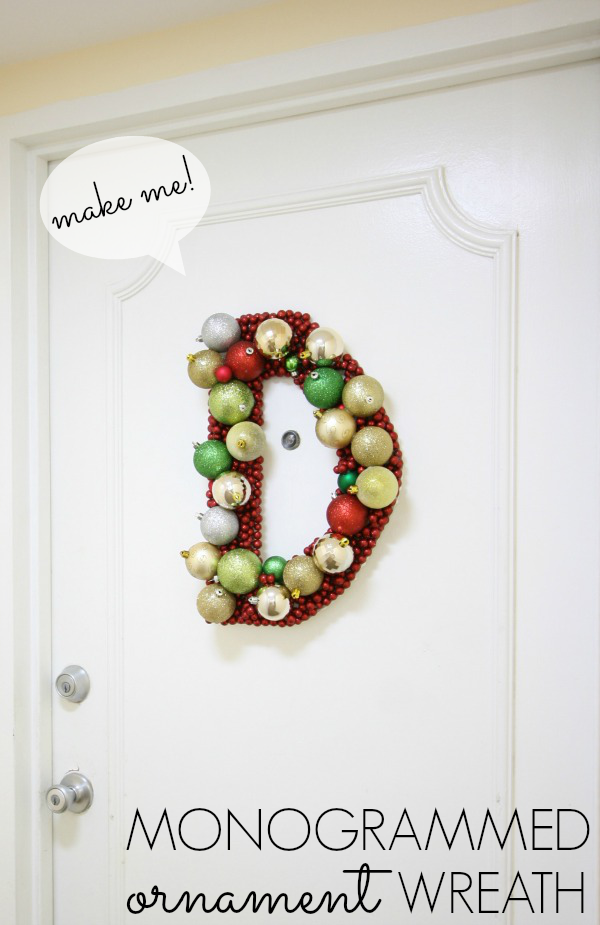
How to Make a Christmas Ornament Wreath
I have the Fall Pinterest Challenge to thank for getting me from inspiration on pinterest to actually doing something in one week! I like to challenge myself to create a really awesome free things, and I’m proud to announce- I did it with this wreath! My “D” monogrammed ornament wreath was made entirely from things I already had on hand. Oh and this is the perfect craft to whip out the broken ornaments!
Step 1- Draw a letter
I hand drew a D on the foam board![]() and used an XACTO to cut it out. The metal ruler really helps for the straight side.
and used an XACTO to cut it out. The metal ruler really helps for the straight side.

Step 2- Hot glue ornaments
Next, I just started hot gluing ornaments all over the big D (for Dorobek, not Dallas!). I only had 2 big red balls, so I wanted to space them accordingly.

Step 3- Hot glue the small vase filler
After I spaced out all the big ornaments, I hot glued the little red glitter balls in the white space. It might have been better to cover the whole thing in the red balls first. Maybe? In other news, I got inured in the making of this wreath. Please be careful with the hot glue gun.

Step 4- Layer the vase filler
The red balls need to be glued on top of each other so you don’t see white. Red ball piles are a good thing. It gives the wreath more dimension, don’t ya think?


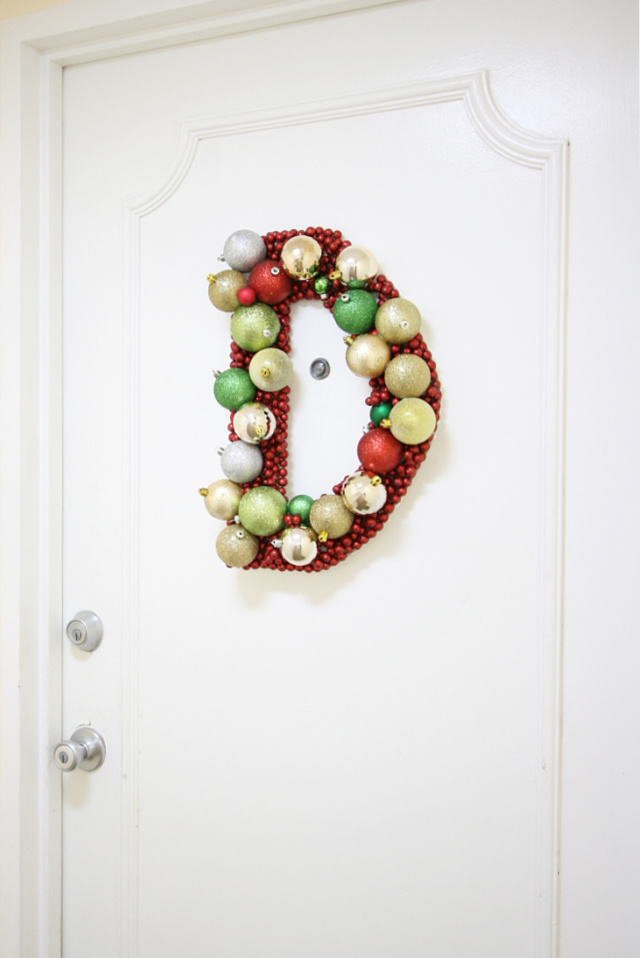
I filled her in a little more and voila, here she is proudly representing casa de Dorobek’s front door at Christmas! Just so you know, I’m not the crazy lady who puts up Christmas decorations 3 months in advance, I did an early photo shoot especially for this post. The monogram wreath will make her month long home on the front door right after thanksgiving! Oh yea, I used one 3M picture hanging strip to hang the wreath on the front door. Worked like a charm, I love those things.
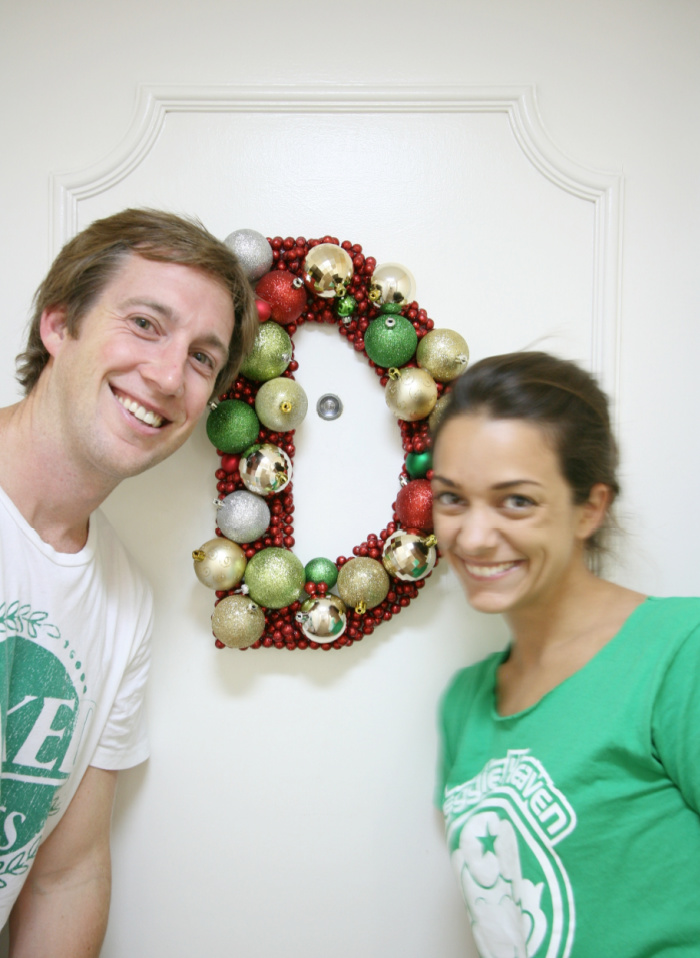
I thought I was done, but after checking out this picture I declared I needed more red balls. Look at all of those white spaces!
Have you started Christmas crafting? Have you done any awesome pinterest projects lately? When do you put up Christmas (or Hanukah) decorations? Do you use 3M picture hanging strips? Have you ever gotten a blister from a hot glue gun? Anyone else obsessed with monograms? Spill the beans, baby

Comments & Reviews
I figured out a way to cover up the white spaces. Paint the foam red before you use the hot glue.
Great colors & looks like something I could do 🙂 ha. Fun!
Great job! Looks awesome!
I LOVE this! I am going to make a silver, gold and ivory one for my bedroom to go above my ivory fireplace. I just got married so it will be a fun addition for my husband and I now that we share the same last name.
THANKS for the idea! You rock!
That sounds perfect 🙂 Glad my tutorial could be helpful!
To use a fancy font, print it from computer and glue stick it to foam board. Once cut out, remove font pattern from foam board. I don’t think the pattern paper will be strong enough to support the ornaments. For a professional look, hide the ornament hangers. This is such a cute idea! Can you imagine using fake candy? Or for Halloween black glitter with pumpkins and purple and green ornaments?
Suzanne, That’s a gerat idea about printing out a letter and glueing it to the foam board! I just free handed, it was a little tricky!
Sorry you were injured while making this wreath, but it’s awesome! I love all the glittery ornaments! I’d love for you to share this at my link party Submarine Sunday. It’s open until Friday @ 11:59pm. I hope you’ll stop by!
T’onna
http://navywifeypeters.blogspot.com/2012/11/submarine-sunday-6.html
Thanks for letting me know about your party… I linked it up 🙂
Jamie, this is awesome! I love the monogram design. Oh and I recently burned myself with the hot glue gun too..not fun!
Love the monogram! What a fun way to personalize a wreath 🙂
This is so fun and festive! Love it!
awww… thanks, Ashley 🙂
Super cute! pinning!
Thank you, Amy!
Your wreath looks great! I’m glad that my “S” monogram was an inspiration to you. Thanks for featuring it.