I participated in the Art of Giving last year, remember the giant string art I made with 100+ kids? This year the event was April 2, just 1 month after I gave birth to baby girl, Amelia Jane. I wanted to participate in the Art of Giving again, but I knew I needed a simpler project, something that did not require any prep time. Testing out bleeding tissue paper had been on my to do list for a long time. So I ordered up a package and got to crafting. Y’all, this stuff is awesome and easy and makes really fun art projects for any age kiddo (or adult)! Before I give you the step by step deets of how to make tissue paper art with 100+ kids, here’s the finished art peice that is now hanging in an office building in Austin!
Psst… this post contains affiliate links to the specific products I used.

Here’s what you need to make bleeding tissue paper art
- Bleeding Tissue Paper: (It must say bleeding!) I tried to do this regular tissue paper, and it doesn’t work. That will make you plenty of giant canvases.
- Circle punch: This is not a necessity, you could easily just use scissors, but it makes the shape cutting go much faster.
- Scissors: I used scissors to cut all of other shapes and letters.
- White canvas: I used a 3 ft x 3 ft canvas for this project, but any size will work.
- Plastic cups for water
- Paint bruses
- Clear spray polyurethane
- Bowls to hold the pre cut shapes
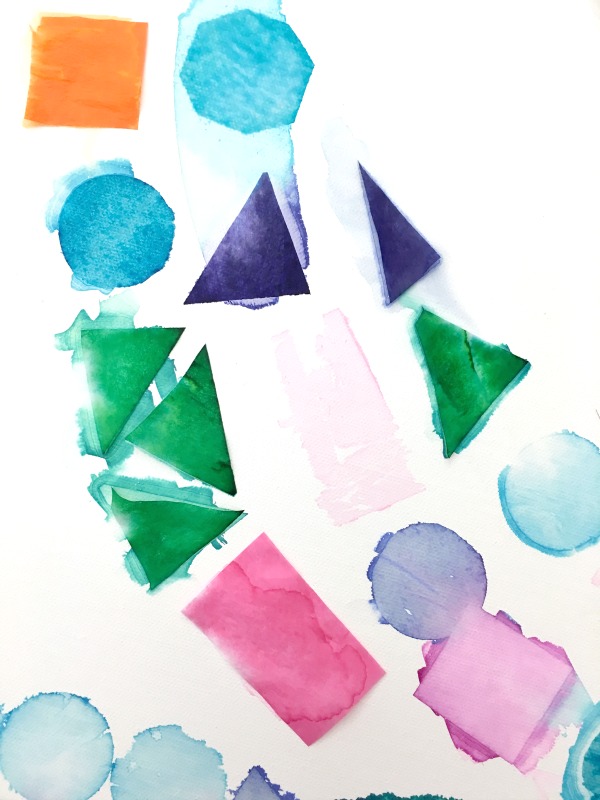
Before the event, I cut a ton of shapes out of the bleeding tissue paper. At the event, I allowed older kids to cut out their own shapes and letters too. But, it was certainly nice to have some pre cut for the little guys. What you see below is the test shapes I did before the event. I originally thought I’d try to have the kids do the shapes in row. Big fat, ha! to that idea. The kids had different ideas and I let them go with it! There were shapes on shapes on shapes and I love how it turned out.
Here was our process for the actual making of the art. I say “our” becusae the kids quickly changed my mind as soon as they started creating!
- Kiddos came up to my table.
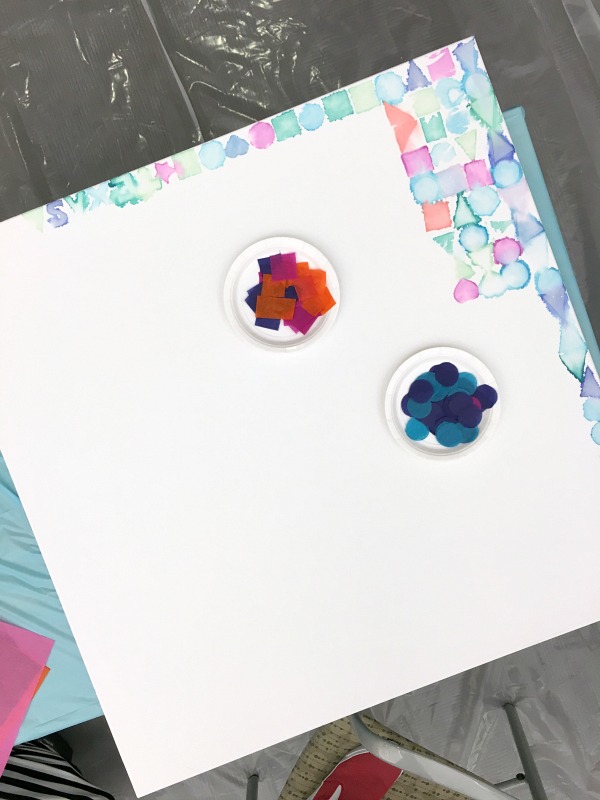
- I handed them a paint brush, a handful of tissue paper shapes, and a water cup.
- I instructed each child to paint water on the canvas, add shapes, and let dry.
- Some kiddos used a lot of water and would “watercolor” with the excess dye.
- Some kids would leave before their shapes dried. For the best color results, wait for the tissue paper to dry completely. When it’s 100% dry the tissue paper will easily flake off.
You can see some watercolor happening in this picture. You can also see how the wet shapes look compared to the bottom row where the tissue paper has already been removed.

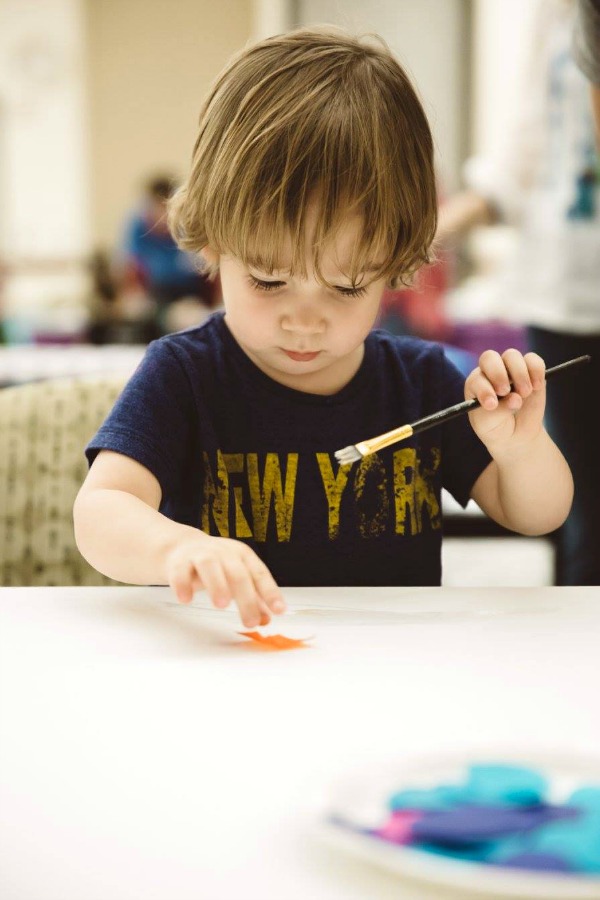
Here’s my sweet Max putting his creative genius on our collaborative art peice:
Remember how I said I was going to have the kids do straight lines, ha!

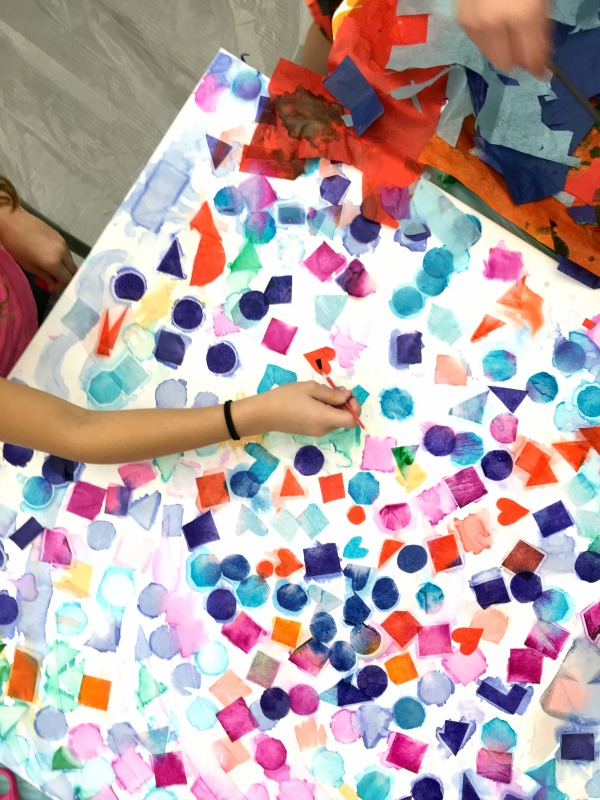
Here’s a random picture of a small peice of the painting in progress. Pretty cool, right? You can see that some of the tissue paper pieces in this picture have not been pulled off yet and that makes the color more vibrant. Look closely at the green triangle closest to the bottom and you can see how it is peeling up on its own.
I hand cut all of the blue octagons. I actually hand cut everything except for the circles. I tried this same technique using a spray bottle, and I thin that would work fine if you weren’t trying to do it with so many kids. But, I found that the paintbrush gave each kid a lot more control as to wear he or she painted the water and added the shapes.

Here’s one more of the almost finished product. The event was from 12-3, so this entire thing only took me and 100+ kids 3 hours to whip up!
And here is one last picture of our final, framed product!
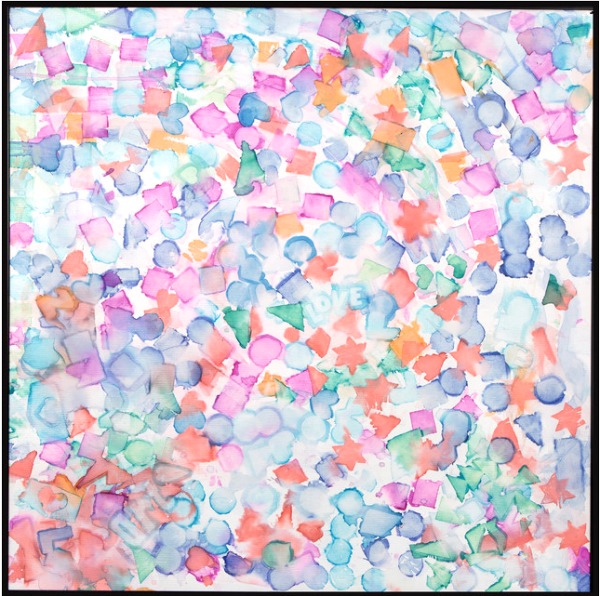
(Photo by Jim Lincoln)
I’m not 100% sure what sponsor is getting our art peice, but I get to find out at the Giver Gallery! The Art of Giving is such a neat fundraiser for our local Children’s hospital, and this year we raised 190,000 dollars! Oh and here are all 12 collaborative art pieces from last year.

Comments & Reviews
These are really inspiring. Thanks
Hi! I’m trying to do the but the colors are bleeding too much and then I can’t see the shape at all. Any advice? Thanks!
Hi! I’d guess you are using too much water. I hope that helps!
So fresh and fun! Thanks for sharing with us on Throwback Thursday!
Mollie
So cool! Love the concept and how your final piece came out. This would be a neat project for our family to make as Christmas presents for family.
What a great idea! I’ve never heard of this event. Is it national?
What a brilliant idea for a big group to work on together, I love how quickly you gave up your striaght lines plans, I’m sure there is a message for us all in there somewhere!
And best of all the finished result is so pretty!
I love this idea! Didn’t even know there was such a thing as bleeding tissue paper. This is a definite must try, so thank you for sharing it with us on #shinebloghop this week 🙂
This looks so fun! I can’t wait to try it with my boys. Pinned.
This is awesome! I have already posted it to my toddler/kid stuff board on Pinterest. What a (cheap), fun craft for my toddler and four year old!! Thanks for sharing at the Family Joy Linkup! Hope to see you again next week!
That’s really neat. I’ve never heard of bleeding tissue paper before.
Really nice! all the tissue paper in my neck of the woods bleeds, so no problem there! thanks for sharing on craft schooling Sunday!
This is so clever and it really turned out fantastic! I love it. Thanks for sharing with us at Snickerdoodle Sunday! Pinned to share.
What a fun craft…my girls would love this! Thanks so much for sharing with us at Share The Wealth Sunday!
This is agreat project! I do have a couple of questions:
1. Do you prime the canvas first?
2. So after the water dries up would you then pull all the tissue paper off the canvas?
3. I am assuming that the polyurethane would be sprayed on the canvas at the end when everything is dry. How many coats do you spray on?
Thank you! I always try to find a fun project to do with my grandkids at christmas time fir them to make and give to their moms & dads for Christmas.
Hi Helen! 1) No need to prime the canvas. 2) There is really no wrong way to pull up the tissue paper. If it is still wet, it might drip. And if it is totally dry, the tissue paper will flake off of the canvas. 3) I just sprayed on one coat of polyurethane when it was totally dry. This would be such a sweet Christmas gift for parents 🙂 xo