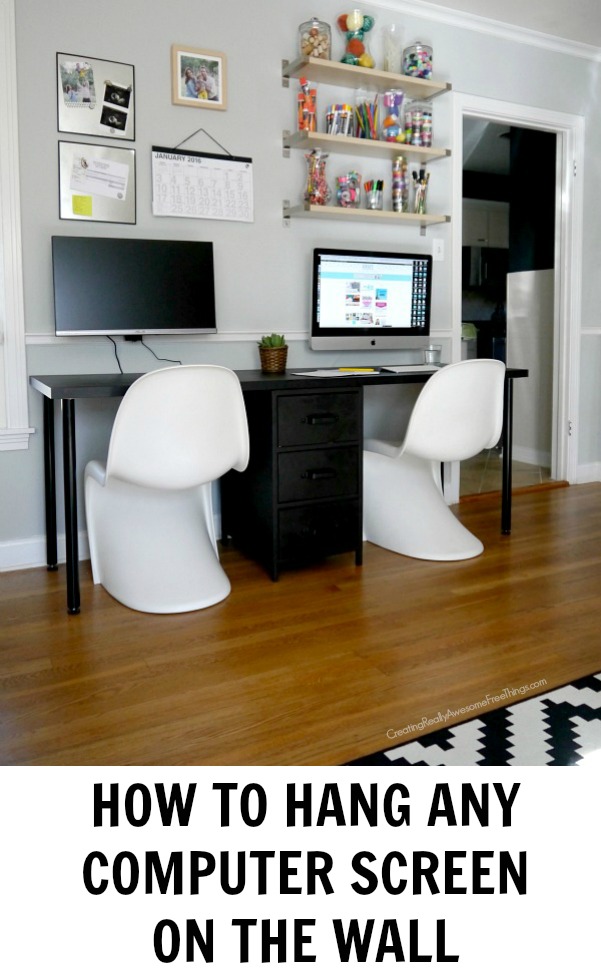
I’ve gotta give Andy 100% credit for this post, it was his idea and his handy work! So, I shared our 2 person desk a few weeks ago, and today I’m spilling the beans about how Andy hung the computer screens. The wall mounted PC and iMac screens makes a big difference and I love having the whole desk for work space (more room for craft supplies and clutter, ha!) But when it is picked up, it looks so much neater and absolutely makes cleaning the desk easier since you can just wipe the whole thing down without screen stands and cords in the way.
Here is what we used to hang our computer screens on the wall (affiliate links):
Most TV’s come VESA prepared. (VESA stands for Video Electronics Standards Association.) Most computer screens do not come VESA ready. This is why you have to buy a mount adapter for your swiveling wall mount bracket. Beware that mount adapters are brand and model specific. So, double check that you are buying the correct mount adapter for your computer screen. Also fair to note, that prices on Amazon change, I included the prices as of this post.
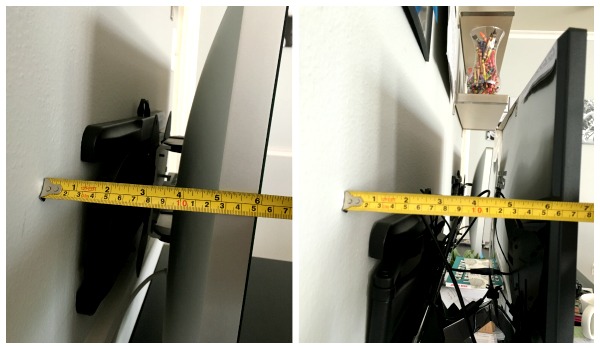
Andy chose the swiveling wall mount because it was the mount that could get the most flush with the wall. Although, Andy is not 100% satisfied with the flushness of the screen to the wall, it is not the wall mounts fault. The fault is in how the Asus computer screen is made. Here’s a comparison of how flush each of our screens are the to the wall. The iMac is almost exactly one inch closer to the wall than the Asus screen. The swivel and pull out feature work great on both screens!
Here is what else you will need to hang your computer screens:
- Drill
- Laser level or regular level
- Stud finder (helpful, not necessary)
So, just for reference, here is the wall mount bracket laying on its back extended up.

We’re ready to get your computer screens on the wall:
1. We’re going to start with the iMac. The first thing to do is take the stand off of the screen. Andy used this youtube video to detach the stand from the screen.
2. Now, you have to attach the VESA mount adapter to the screen. This is as simple as screwing in the 4 screws. Here is our iMac screen with the stand removed, and the mount adapter attached and ready to be hung on the wall.

3. Now, to attach the wall bracket to the wall. Find the studs in the wall or you’ll need some really hefty wall anchors. We were lucky enough to have one stud in the right place and used wall anchors in the other side. It’s also very important to use a level so that your screen hangs well, level on your wall!
4. Once your wall bracket is secured on the wall, attach your VESA adapter to the mounting bracket that comes with the mount. (You attached the VESA adapter to your screen in Step 2.)
5. Then attach the mounting bracket to the wall mount.
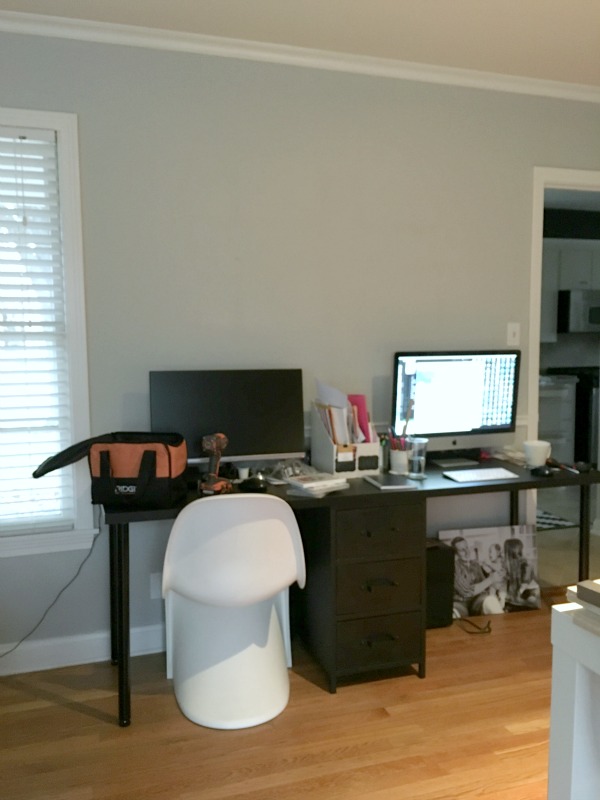
So, here’s a before the computer screens were hung on the wall.
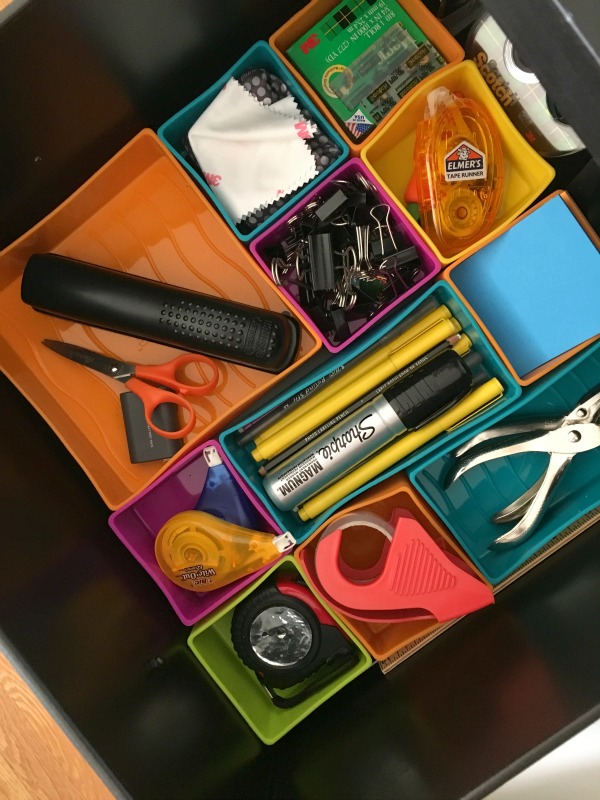
And here’s the fancy after! I also removed the file folders and you should my top desk drawer, it’s beautiful!
I’m kind of proud of my top desk drawer, check it:
Does anyone else have computer screens hung on the wall? It’s kind of awesome and a pretty easy fix to make!

Comments & Reviews
Great idea. I’m wondering about ease/accessibiltiy of the USB, etc ports in the back. I’m often changing things out and wouldn’t want it to add stress to my life LOL.
Thanks
That is no problem for us! The computer sits far enough away from the wall that you can easily access all usb ports!